
.JPG)
This little hat was all trial and error using the primrose stitch :o) I had an image of a little bonnet that I wanted to use as a photography prop, I think I've managed to recreate what was in my head! I really hope you enjoy this one, it's sooooo adorable! Just a note though, while I'm fine with other photographers making this hat for their own use, this hat may not be made and sold in any way or the pattern copied/reproduced/sold in part or in whole. Also, if you do make this and use it for your photography, I'd love to see it! Email a photo to thequirkycraftingshmooglebean@gmail.com!
.JPG)
Size 5mm (H) hook and a size 6mm (J) for trim
For hat: 8ply worsted weight yarn For trim: use ribbon, fluffy yarn, specialty yarn, sequin thread anything really! Just depends on what you're using your hat for, I honestly think this particular pattern has so many creative options to make it that little bit more unique and to suit your needs :o)
Stitches used:
sc = single crochet
hdc =half double crochet
dc =double crochet
Working in rounds so be sure to use a stitch marker! (or scrap bit of yarn)
Round 1: Magic circle, ch 2, 10 dc into ring
Round 2: 2 dc in each stitch around
Round 3: *1 dc in next dc, 2 dc in next st* around
Round 4: *2 dc over next 2 dcs, 2 dc in next st* around
Round 5: Ch 1, turn. Over the next 32 sts: in first dc work 1 sc, ch 2, 1 sc, skip two stitches; in next dc work *1 sc, ch 2, 1 sc. Skip next 2 sts* leave the last 9 sts unworked.
Round 6: Ch3, turn. In the first ch 2 space work 3 dc and in each ch 2 space around. In the last ch 3 space, work one hdc (to give you a straight edge when completed)
Round 7: Ch 2, turn. Work a sc, ch 2, sc into third chain from hook (middle of the shell) In the second dc of each shell around work *sc, ch2, sc* In the last ch 3 space, work 1 hdc.
Round 8: Ch3, turn. *In the first ch 2 space work 3 dc and in each ch 2 space* around. In the last ch 3 space, work one hdc
Round 9: Ch 2, turn. Work a sc, ch 2, sc into third chain from hook (middle of the shell) In the second dc of each shell around work *sc, ch2, sc* In the last ch 3 space, work 1 hdc.
Round 10: Ch3, turn. *In the first ch 2 space work 3 dc and in each ch 2 space* around. In the last ch 3 space, work one hdc
Round 11: Ch 2, turn. Work a sc, ch 2, sc into third chain from hook (middle of the shell) In the second dc of each shell around work *sc, ch2, sc* In the last ch 3 space, work 1 hdc.
Round 12: Ch3, turn. *In the first ch 2 space work 3 dc and in each ch 2 space* around. In the last ch 3 space, work one hdc.
Finish off
Using second colour of yarn or trim and a 6.00mm hook join with a sc to last st made. Sc in each st around entire hat
Weave in ends
Cut 6 strands of trim about 50cm long and divide them into 3. Fold one set of 3 in half over your finger; push your crochet hook through one bottom corner of your bonnet from underneath and pull all 3 strands in the loop through.. grab the tails through the loop and pull them through, tightening the knot firmly.
 |
| Poke your hook from underneath one corner of the bonnet |
 |
| Fold the yarn strands in half over your finger and grab the loop with the hook |
 |
| Pull the loop a little way through the other side |
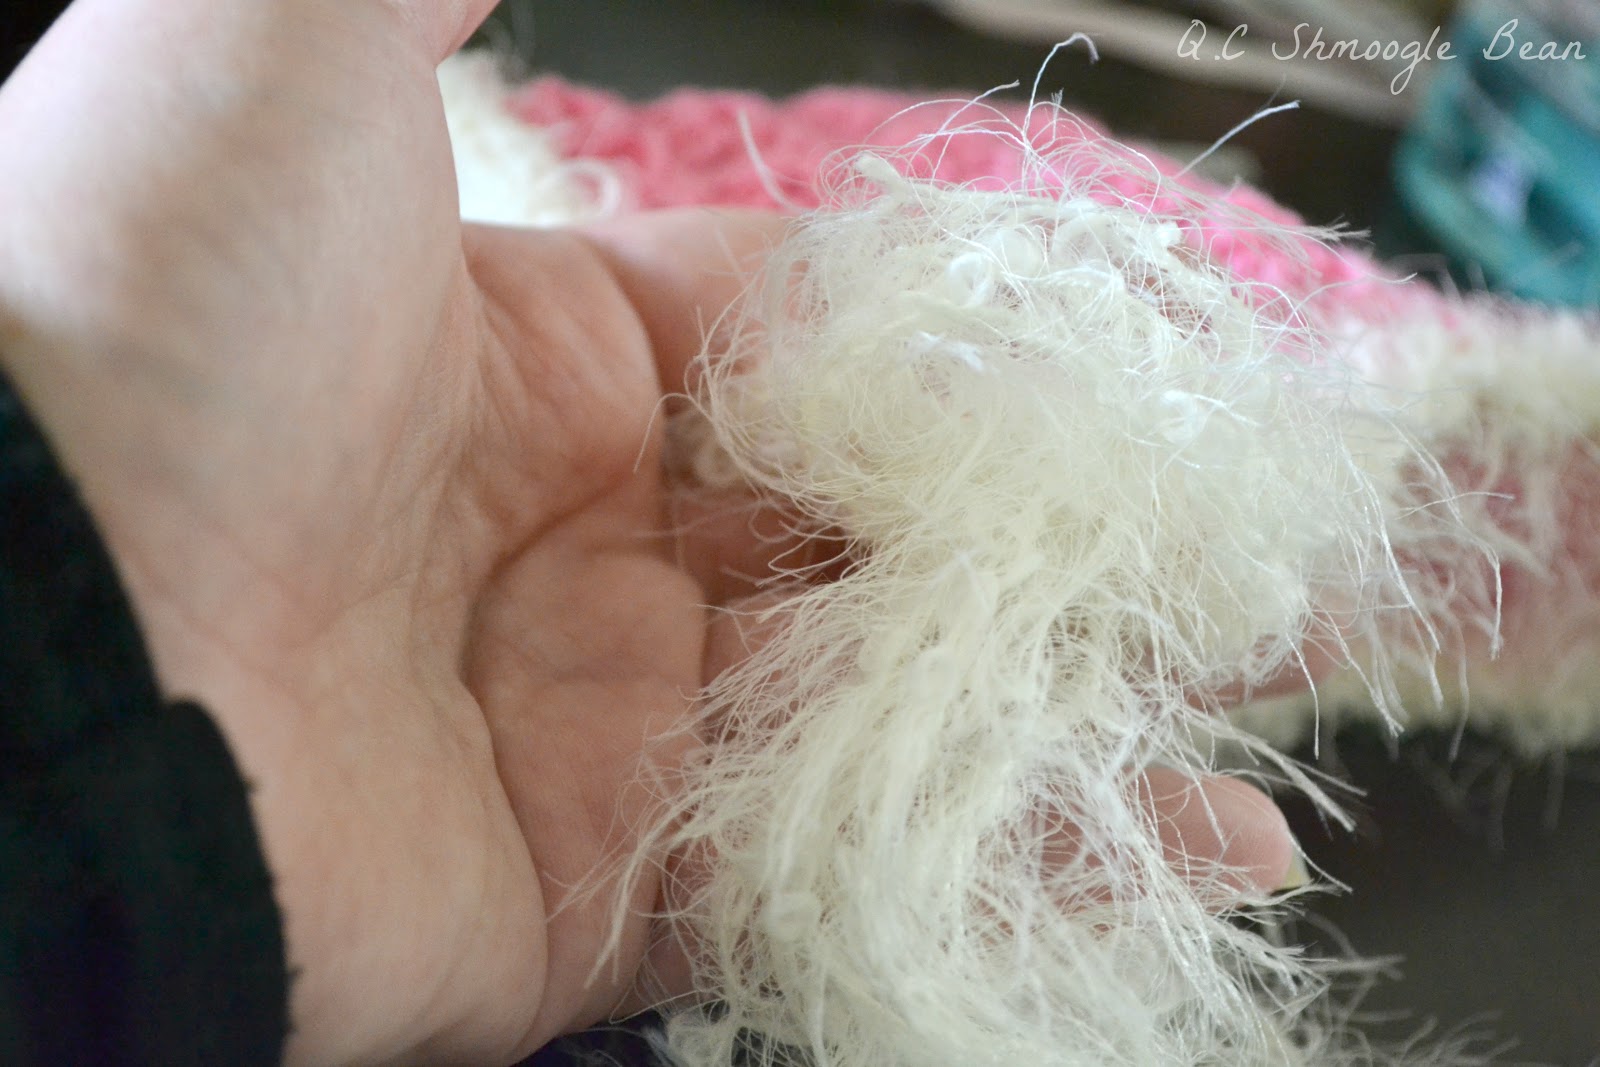 |
| Grab the strands and pull down through the loop forming a knot...tighten gently but firmly to secure |
.JPG)
That is absolutely adorable and very talented. My idea of being craft is to make a no sew blanket so I have a ton of respect for anyone who can do things like this from scratch.
ReplyDeleteThankyou Felissa! That's very kind! It's comments like that which make my day :)
DeleteAdorable!
ReplyDeleteIsn't it just darling? I'm a little bonnet-crazy at the moment :)
Delete