Wednesday 16 January 2013

Sunshine Leg-Warmettes ~ Newborn Crochet Pattern

Photobucket
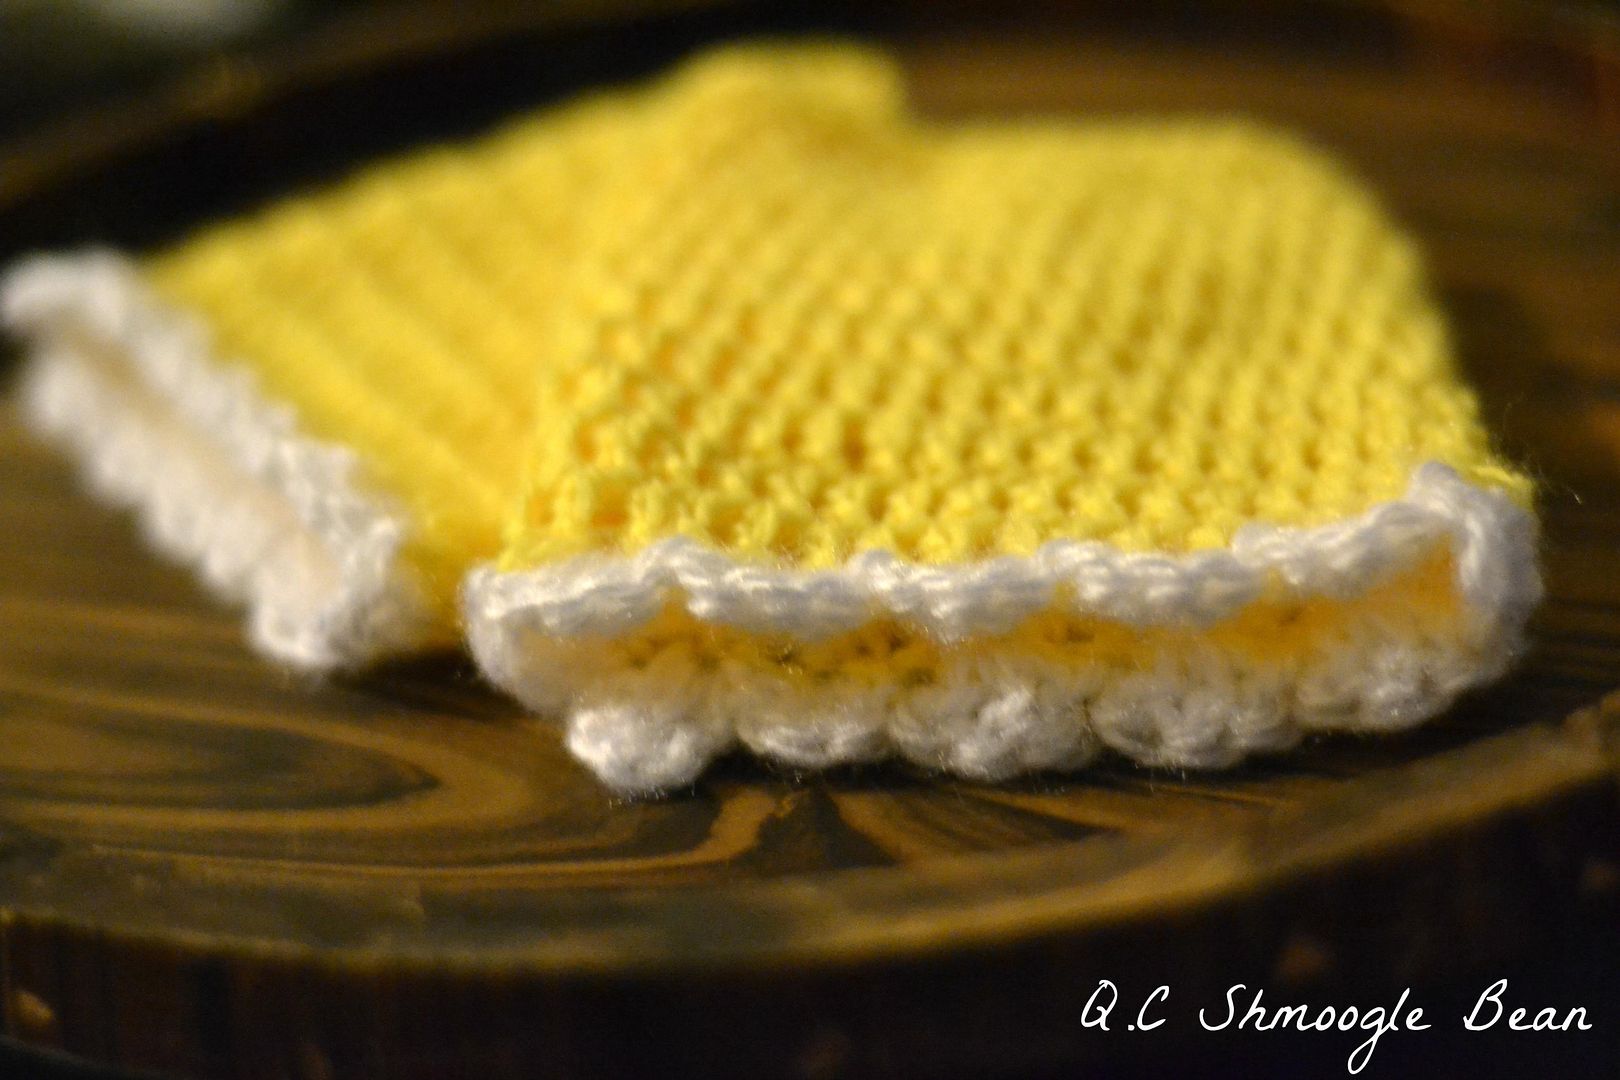
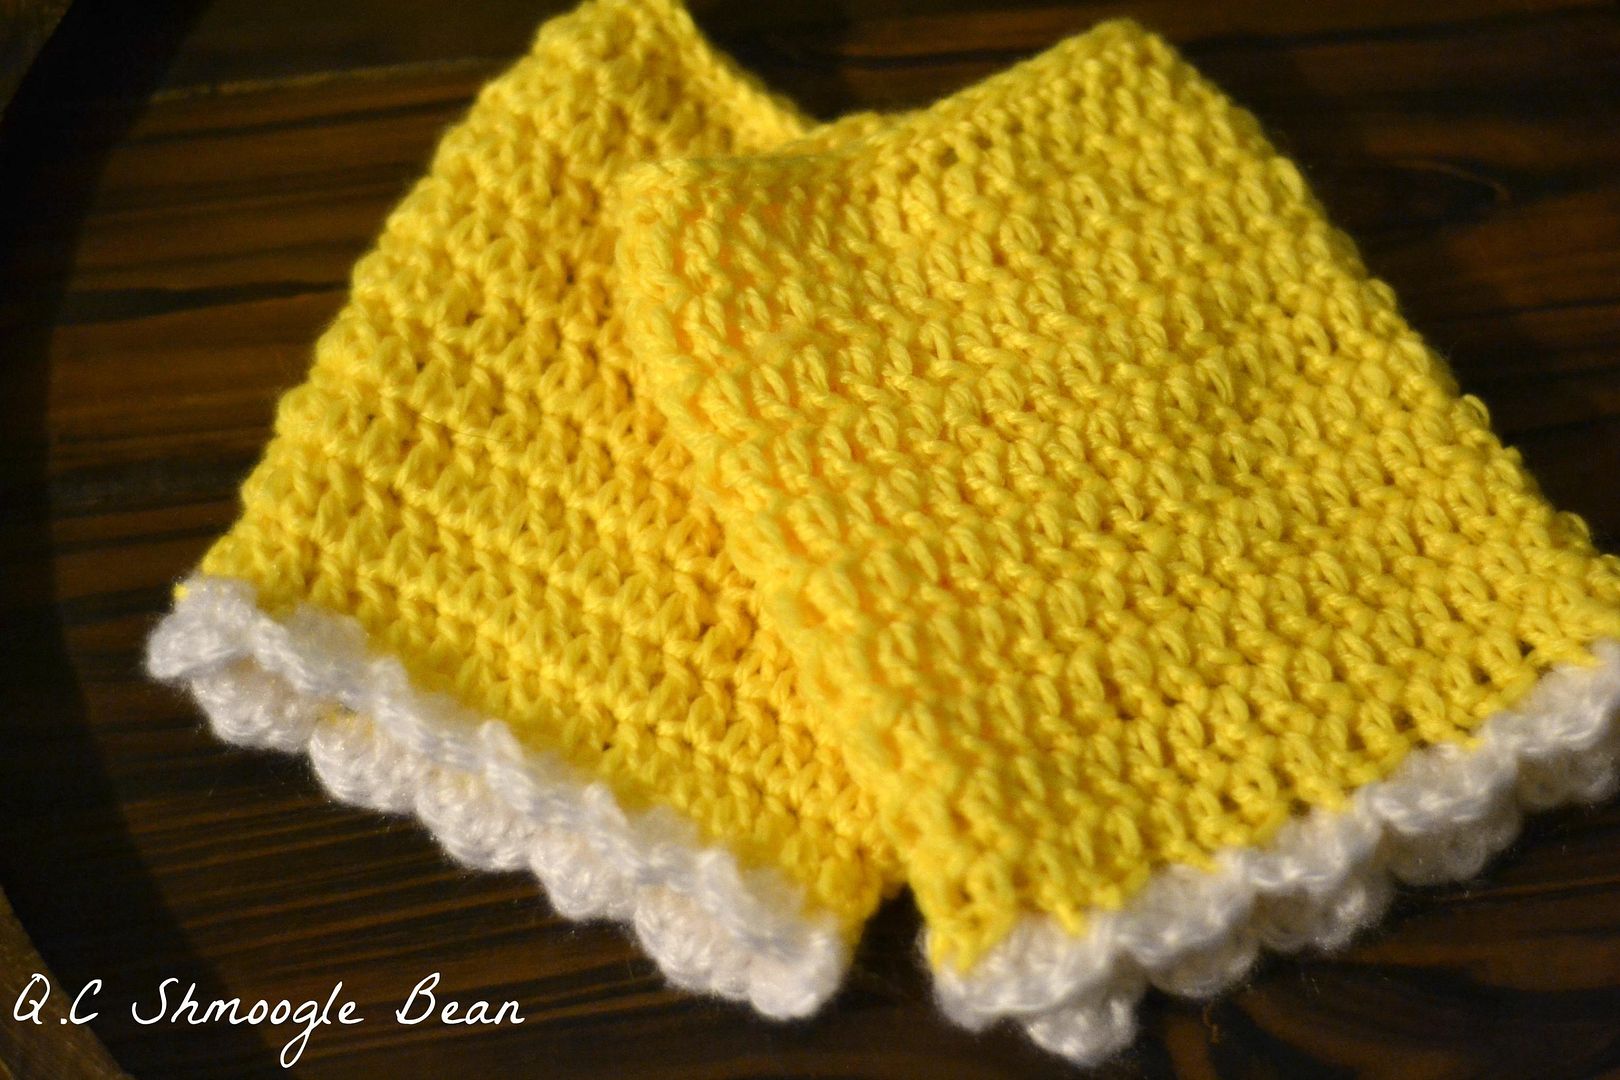
They're not full legwarmers, they're legwarmettes! Designed to compliment the Sunshine Bonnet these cute little crochet creations fit over the knee and stop at the ankle for full cuteness overload in your newborn photos...  They don't take a lot of yarn or time to whip up and would look beautiful with a solomon's knot wrap or layering blankets for Spring shots. As with the Sunshine Bonnet, these will fit best within 14 days of bubs arrival up to 1 month; you may need to add another few rows of dc to fit up to 3 months. These are worked in rounds so you'll need a stitch marker. You'll also need:
  • a 4.5mm crochet hook
  • yellow 8 ply yarn
  • white  8 ply mohair or yarn for scalloped edge
Make two. With the yellow yarn:
Chain 37 and join with first chain, being careful not to twist it. Work 1 dc in each chain around. Continue to work 1 dc in each st around until you have 10 rows. Once you have 10 rows, work 1 row of sc, then sl st around the top. Weave in ends.
Change to your white yarn and join to the opposite end to the slip stitches. Chain 3, work 2 dc into same stitch, sl st into next stitch, skip 1 st *3 dc in next st, sl st to next, skip 1* around. Sl st to first chain.


Photobucket

Sunshine Bonnet ~ Newborn Crochet Pattern

Photobucket

Modelled by Miss Mushroom! It's easy peasy and oh so cute as a photog prop! It will fit newborns best within the first 14 days but can be used for bubs up to 1 month old. For this hat we'll be working in rounds. Repeat between ** each round and remember to move your stitch marker each round so you know where to end and begin. You'll need:
  • a 4.5mm crochet hook
  • a stitch marker
  • yellow 8 ply yarn
  • white 8 ply mohair (or 8 ply white yarn)
Photobucket
For the Bonnet:
Starting with a magic circle and your yellow yarn, chain 3 (counts as first dc) and work 11 dc into ring, close do NOT join.
Round 1: 2 dc in each st around
Round 2: In 3rd chain of beginning dc work 2 dc. *1 dc in next st, 2 dc in next st*
Round 3: *1 dc in next 2 sts, 2 dc in next st*
Round 4: *1 dc in next 3 sts, 2 dc in next st*
Round 5: Ch 3, turn. 1 dc in next 50 sts leaving remaining 13 unworked. Ch 3, turn.
Round 6: 1 dc in next 50 sts. Ch 3, turn.
Round 7: 1 dc in next 50 sts. Ch 3, turn.
Round 8-11: 1 dc in next 50 sts.  Finish off with yellow.
Bonnet Trim:
Using white yarn, join to last st made, working along front of bonnet: Ch 3, 2 dc in same st, sl st to next st, skip one stitch, *3 dc in next st, sl st to next, skip 1 st* Finish off. Weave in ends.

For the Ties:
Using white yarn, chain 55. 1 sc in second ch from hook and in each st along. Finish off. Repeat for second tie. Weave in ends and sew to either side of bonnet.

Photobucket
Cute right? Why not make a pair of matching Sunshine Legwarmettes to complete the set! Enjoy :)
Tuesday 15 January 2013

A day of yarny goodness makes a good distraction when sick!

Photobucket Just me, some yarn, hooks, needles and aunt nauseaum! Myself and my queasy stomach set to work happily making up some new props for my newborn photog business (which is blooming, thankyou for asking! ^.^), making a rather awesome sauce ripple blanket and knitting the first of the scarves that I'll be donating to St Vincent de Paul this winter...that was my big plan that I mentioned last post. The first time I came to Armidale, it was a freezing cold and wet day and so we ventured to one of the op shops in search of a scarf but there weren't actually any there! For some reason that really stuck in my mind, and every winter I'm reminded firstly how bloody cold it gets and secondly that the local oppies never seem to have scarves (probably because it's that freaking freezing everyone snaps them up on the first day!) So my goal this year, in the hopes of preventing a few unnecessary colds and restocking the great scarf shortage I am knitting and crocheting my heart out to make a nice big fat yarny delivery in autumn. I'm hoping that if I make them nice enough they will do good work in helping raise money to properly clothe and feed those who will REALLY need it this year. This is the first one, it's nearly finished! I'm not a very quick knitter, hence why I am starting early (and madly making scarves in summer)
Photobucket
 I took my baskets of projects with me to my husband's work (he needed a bit of company), I popped on a movie and my short fat fingers worked their magic with hooks and needles in hand!
Photobucket
Photobucket
Photobucket
Ah yes... one of the things I am seriously lacking in my little stash of props (aside from pretty much EVERYTHING that is) are seriously cute little newborn sized stocking hats for boys! Deciding to remedy this I got to work on completing the little beauty above complete with a pom pom! Can't have a stocking hat without a pom pom! I have a client booked for the first weekend of February and well if he ain't going to be the cutest little stocking-hat wearing munchkin in all of the New England Area I don't know will be! Becoming of course (as I do) a little addicted I promptly got started on a second one. And speaking of becoming addicted, I started watching American Horror Story last week LOVING it! Watched the whole first season in one day, and I've only got episode 11 to go in Season two.... I usually hate anything horror-related but I am completely and utterly hooked on it! I'm looking forward to curling up on the lounge this evening with my crochet, catch up on the latest episode and fingers crossed this damn sickness starts to fade! All day every day nausea for no reason is not exactly how I enjoy spending my time....good thing I have plenty of things to keep my mind off it! :)
Photobucket Photobucket

Sunday 13 January 2013

Make scarves! In summer?


 So it's like this, as far as knitting goes all I can do is the garter stitch and even then I can only really go back and forth in a straight line. I intend on broadening my knitting horizons! I learnt to crochet last year and can now write my own patterns and wing it with ease, this year I'll hopefully be able to do the same with two needles. Why are all the patterns I want to try out scarves? Why am I knitting and crocheting scarves in summer? I'll tell you later. So this is my knitting and crochet scarf list to work through... and yes I am aware that I am going to have to branch out from the garter stitch and my lovely straight lines (complete with a hole or two). There may be a lot of cursing involved... but I have a plan. Albeit a secret plan but a plan! And my damn 5.5mm crochet hook has gone walkabout... I have oodles of hooks trust me to lose the one I use most. My ever present power to misplace has struck again!
To Knit:
The Gentle Strip Scarf
The Classic Seed and Leaf Scarf
April Showers Scarf
The 'Marijke' Scarf
To Crochet:
Fruity Pineapple Scarf
Shells and Chains Scarf
Thread and Cotton Scarf
Lacy Treble Crochet Scarf


That's it! That's my list. Knitting needles engage!


Friday 11 January 2013

Summer Flower Toothpicks

I'm in such a tizzy! I am so very busy... but here's a little craft idea that's just oh so easy!

Ok so terrible poem aside... I seem to have a million and one things to do today, one of those things being to create little pots of candied frozen raspberries in syrup for a 'Down the Rabbit Hole' teaparty tomorrow. Don't even ask me what I'm wearing, I usually spend days creating a fancy dress costume but I haven't had a chance AHHHHHHH anyway, at this very hot and sticky summer moment in time I am working on some Summer Flower Toothpicks to pop in each little pot of candied fruit for an added touch of adorable... super easy, been done a thousand times over by I'm betting a thousand other crafters, bloggers and Martha Stewart but I don't care, I'm adding to that number :3
Photobucket Cut a strip of scrapbook paper 5cm by 30cm. Fold one end down 1cm and continue to accordian fold the paper. Place hot glue in a strip on end of the paper, glue on a toothpick. Fold the paper around and glue the two ends together with the toothpick sandwiched between. Cut a small circle of paper and holding the fold in towards the middle, glue the circle of paper on the back to hold the flower in place. Pop a sparkly little embellishment in the centre... stick into cupcakes, cocktails or frozen delights!
Photobucket Photobucket Photobucket Photobucket Photobucket

I've been kind of obsessed with these scrapbook paper flowers lately... I made a vintage inspired photography backdrop yesterday using these. You can check out a sneak peak of that one right HERE, you'll have to wait to see it all...I don't want to ruin the effect!

Happy crafting!