Showing posts with label Sweet Little Shmoogle Beans. Show all posts

Monday, 30 April 2012

From blank paper to portrait!

I asked a local fellow crafter today whether she would mind me drawing a portrait of her and her daughter for a little practice, it was such a beautiful photo of them both and an absolute dream to draw! I'm not good enough to try and draw a portrait from life yet...maybe one day in the future but definately not anytime soon! I usually find working from photographs works best for me, I like to spend time studying it and getting a feel for the subjects...I think if I were to draw from life my subjects would get a little freaked out with me standing an inch away from them inspecting the curve of their face or the shape of their nose!

Working in the preliminary sketches and figuring out what needs to go where...I always find this the hardest part of any drawing! Especially faces!
Slowly beginning to add in areas of major shading and smaller details
Working in the facial features...I always leave the trickiest part til last, in this case the baby's face
At this stage I'd been at it for about an hour, nearly finished! Just a few more finishing touches to add.
And then suddenly everything comes together!
I always feel a strange mixture of things when beginning a drawing... first and foremost it's me worrying that the finished product won't work out, or that I will make some major unfixable mistake and end up ruining it. Logic says to put it aside and try again but my patience and expectations tell me 'not going to happen!'. I am by NO means a professional, nor am I particularly acurate with my portraits...I know when something hasn't been drawn right, I notice it only at the end and by that stage I'm just so glad it mostly worked out that I don't mind too much. I keep telling myself perfection will come with practice and practice, practice practice is what I intend to do! The other feelings usually consist of anticipation...not to see the end product, but anticipation of what will come out of the end of my pencil along the way, how I tackle each section; I ALWAYS feel nervous..I don't know why! Whether Im drawing for a commission or just for fun I always feel nerves! Like someone is watching me and ready to pounce on any mistake although that's probably just my paranoia getting to me. Then at the end I get confused as to whether I should feel relieved that it's over and it doesn't look like a stick figure, if I should feel accomplished and proud of my work or whether I should discard it and start over again. That is very contradictory of my previous comment, I never ACTUALLY discard my work and start again (even though sometimes I should) but that doesn't stop me feeling like I should. My oh my there goes my cup half empty attitude again! I can't just be happy about it can I? haha ohhh well... I guess that's why I blog! I've shown you the basic processes I go through to produce a drawing, perhaps you can appreciate it for me? :o)

Sunday, 29 April 2012

My poor drawing pencil was being neglected!


What happened to the days when I used to draw all the time??? Why have I suddenly stopped doing what I love most?! I guess my mojo went on holiday.....I don't know when the last time I drew a portrait was. I decided today was a good time to see just how rusty I'd become and look what happened!


 I am glad I did it and am really looking forward to getting in some more practice! I've never had any kind of training in this area...I did try to once but I fairly sure my teacher hated me, EVERYTHING I did, in her opinion, was wrong while the rest of the class was perfect :/ So in a nutshell that didn't last too long. Maybe I'll try going through professional training again one day but definately not at the same place!

I'd done a few drawings for friends in the past, I found copies in a folder on my computer recently and had almost forgotton I'd done them at all!


I was a bit taken aback at first, I had a moment of 'did I really do that??'. I will definately be striving to get some more practice in and hopefully even start selling some custom portraits!

Friday, 27 April 2012

DIY Baby Tutu

The completed 'Starry Night' tutu is available for sale at 'Sweet Little Shmoogle Beans ~ Photography Props'

NOTE: You may sell items made from this tutorial with proper credit back to this blog and tutorial. You may not copy/sell/reproduce any part of this tutorial. You may not use photos from this tutorial for any purpose. Please respect the time and effort that goes into the production of free craft tutorials :o)
What you will need:
Braided elastic - mine is 1/2 inch thick but any size between 1/2 and 2 inches in fine.
Tulle of course! - I picked up 2 kinds from the scraps bin at my local fabric store for only $10. They're about 2m by 80cm-ish each. Since we're doing this on a budget, if you can manage to pick up an assortment of smaller lengths of tulle that would be perfect for this! The tutu is only small so you won't need alot.
Scissors
Sewing machine (and matching thread!) You can sew this by hand though if you like!


Cut your elastic to comfortably fit the waist of the bub you are making the tutu for or if you are making for a newborn baby as a photography prop or a gift, then make your elastic 15 inches long and it should fit just fine! If it's a bit big, have no fear bub will grow! :o)


Now cut your tulle into lengths. For a newborn tutu you don't want to have the tulle too long so cut each peice about 16" by 5-7" wide. (You will fold the tulle in half when sewing onto the elastic so your tutu will only be 6 - 8" long when finished) I am using two colours and I used 22 strips of each to make the finished tutu.
Sew the ends of your elastic together (overlapping about 1/4 inch should do) with a zig zag stitch. Sew back over a few times for extra hold.

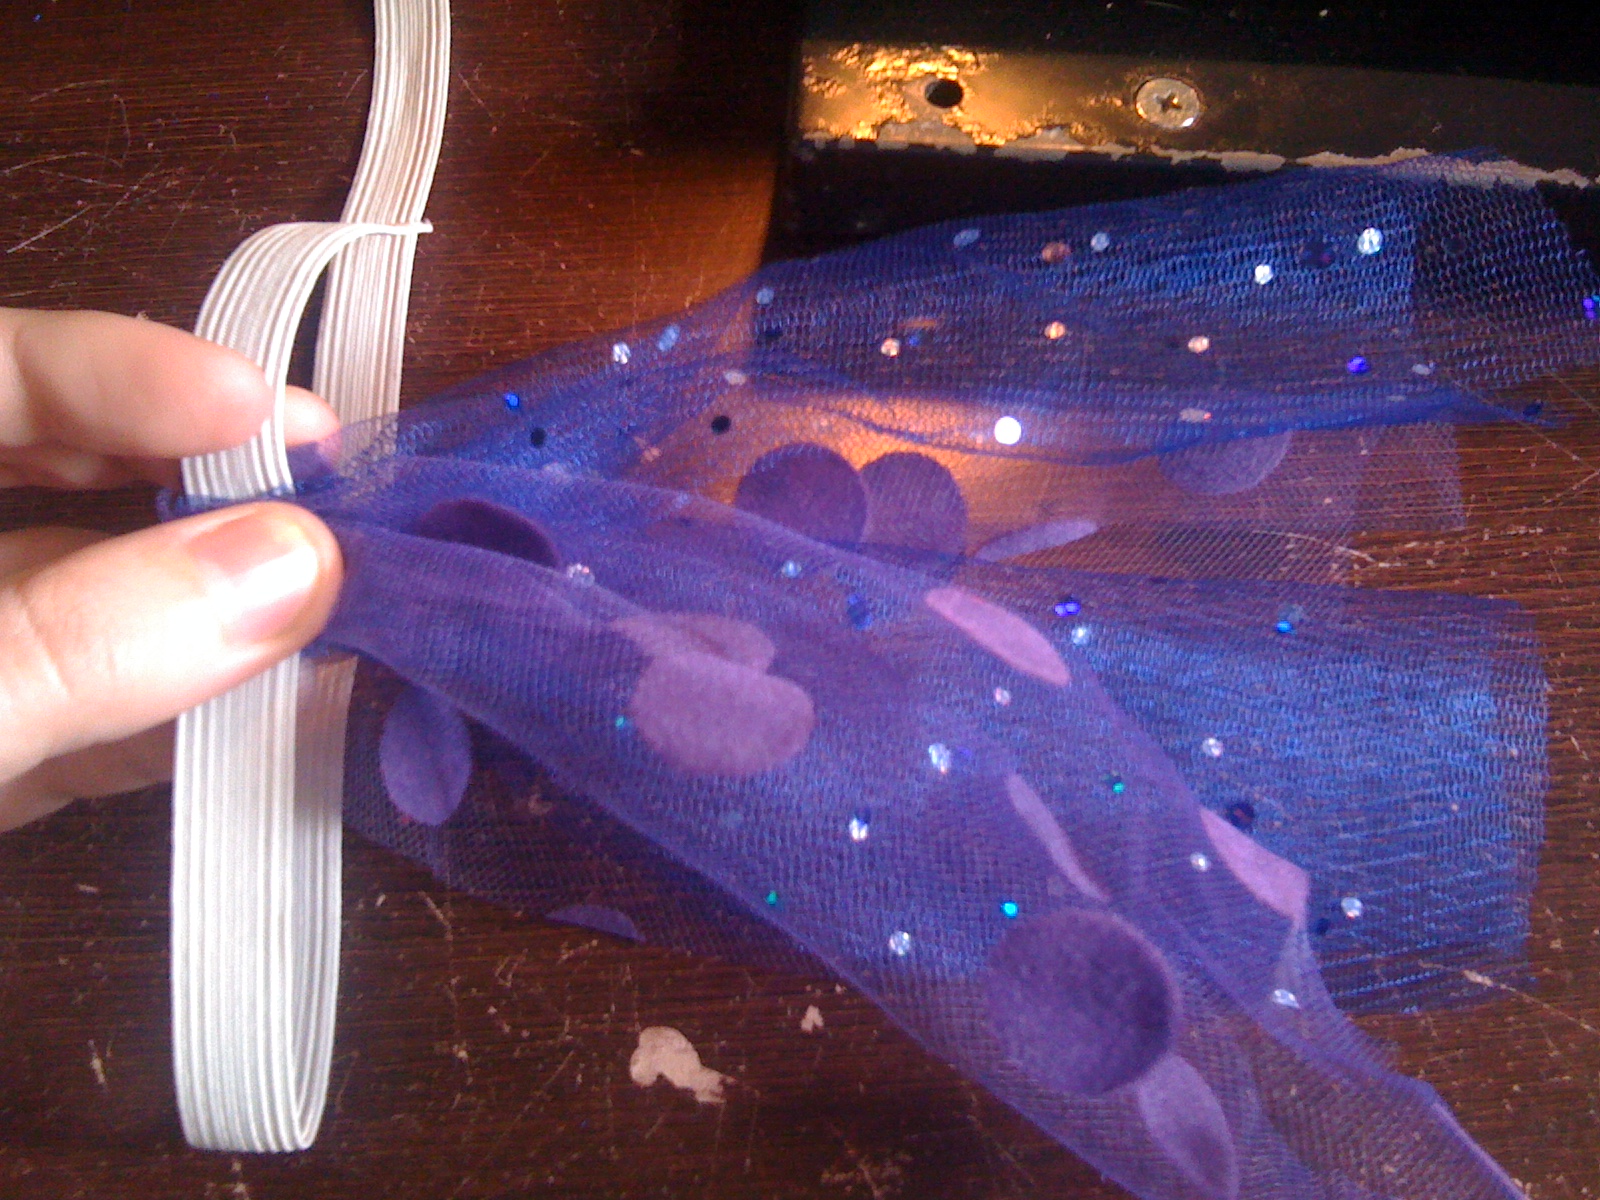
Take two pieces of tulle, one of each (or whatever you're using; you can overlap two of the same colour or different colours, it's up to you!) and lay them on top of each other. Now fold the two pieces lengthways. Fold it at the middle over the elastic and scrunch up the tulle a little to gather it, sew over the tulle just under the elastic.
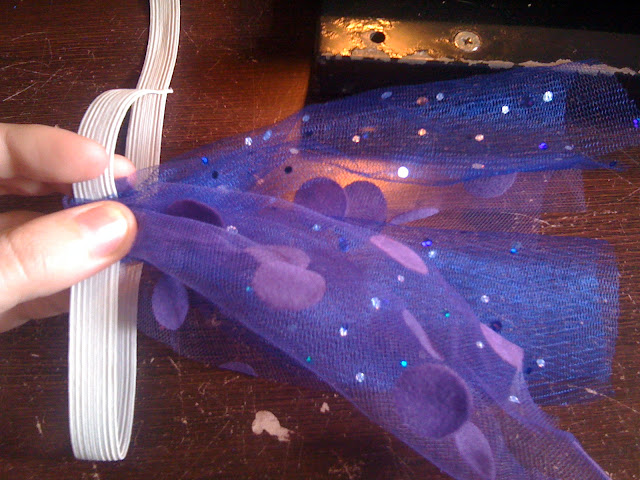
Fold your two layered pieces of tulle (that have been folded lengthways..we did that to add extra puffy-ness) over the elastic.

Be sure not to sew over the elastic when adding your tulle

Continue adding your layered tulle! See what I mean? By layering the pieces you will get an extra fullness than if you were only using one layer at a time
The tutu is taking shape!! only a little bit more to add and you're done!
ta da!! That wasn't too hard now was it? :o)