
Materials
2 coloured balls of yarn for your hat, I am using a pale yellow and purple
a yarn needle for weaving in ends and sewing
scissors
a 5.00mm crochet hook
a small amount of white yarn for the eyes
a small amount of yellow yarn for the beak
two small buttons for eyes!
For the hat
Start with a magic circle, then 6 hdc into the centre of the ring. Join with a sl st into first st. Ch 1
Round 1
Hdc into same st then 2 hdc into each st around. Sl st into top of first st to join.
Round 2
Ch 1, hdc into same st, then 1 hdc into next st. *2 hdc in next st, one hdc in next* around. Join.
Round 3
Ch 1, hdc into same st, 1 hdc in next 2 sts. *2 hdc in same st, 1 hdc in next two sts* around. Join
Round 4
Ch 1, hdc into same st, 1 hdc in next 3 sts. *2 hdc in same st, 1 hdc in next three sts* around. Join
Round 5
Ch 1, hdc into same st, 1 hdc in next 4 sts. * 2 hdc in same st, 1 hdc in next four sts* around Sl st to join.
Round 6
Ch 1, hdc into same st, 1 hdc in next 5 sts. *2 hdc in same st, 1 hdc in next five sts* around. Join
Round 7
Ch 1, hdc into same st, 1 hdc in next 6 sts. *2 hdc in same st, 1 hdc in next six sts* around. Join
Round 8
Ch 1, hdc into same st, 1 hdc in next 7 sts. *2 hdc in same st, 1 hdc in next seven sts* around. Join, finish off.
 |
| What you will have at the end of round 8 |
Rounds 9 through 15
*1 hdc in every st around* Join. DO NOT tie off

Earflap 1
Ch 1, hdc across 14 sts. Ch 1, turn.
Skip next st, hdc across 12 sts. Ch 1, turn.
Skip next st, hdc across 10 sts. Ch 1, turn.
Skip next st, hdc across 8 sts. Ch 1, turn.
Skip next st, hdc across 6 sts. Ch 1, turn.
Skip next st, hdc across 4 sts. Finish off.
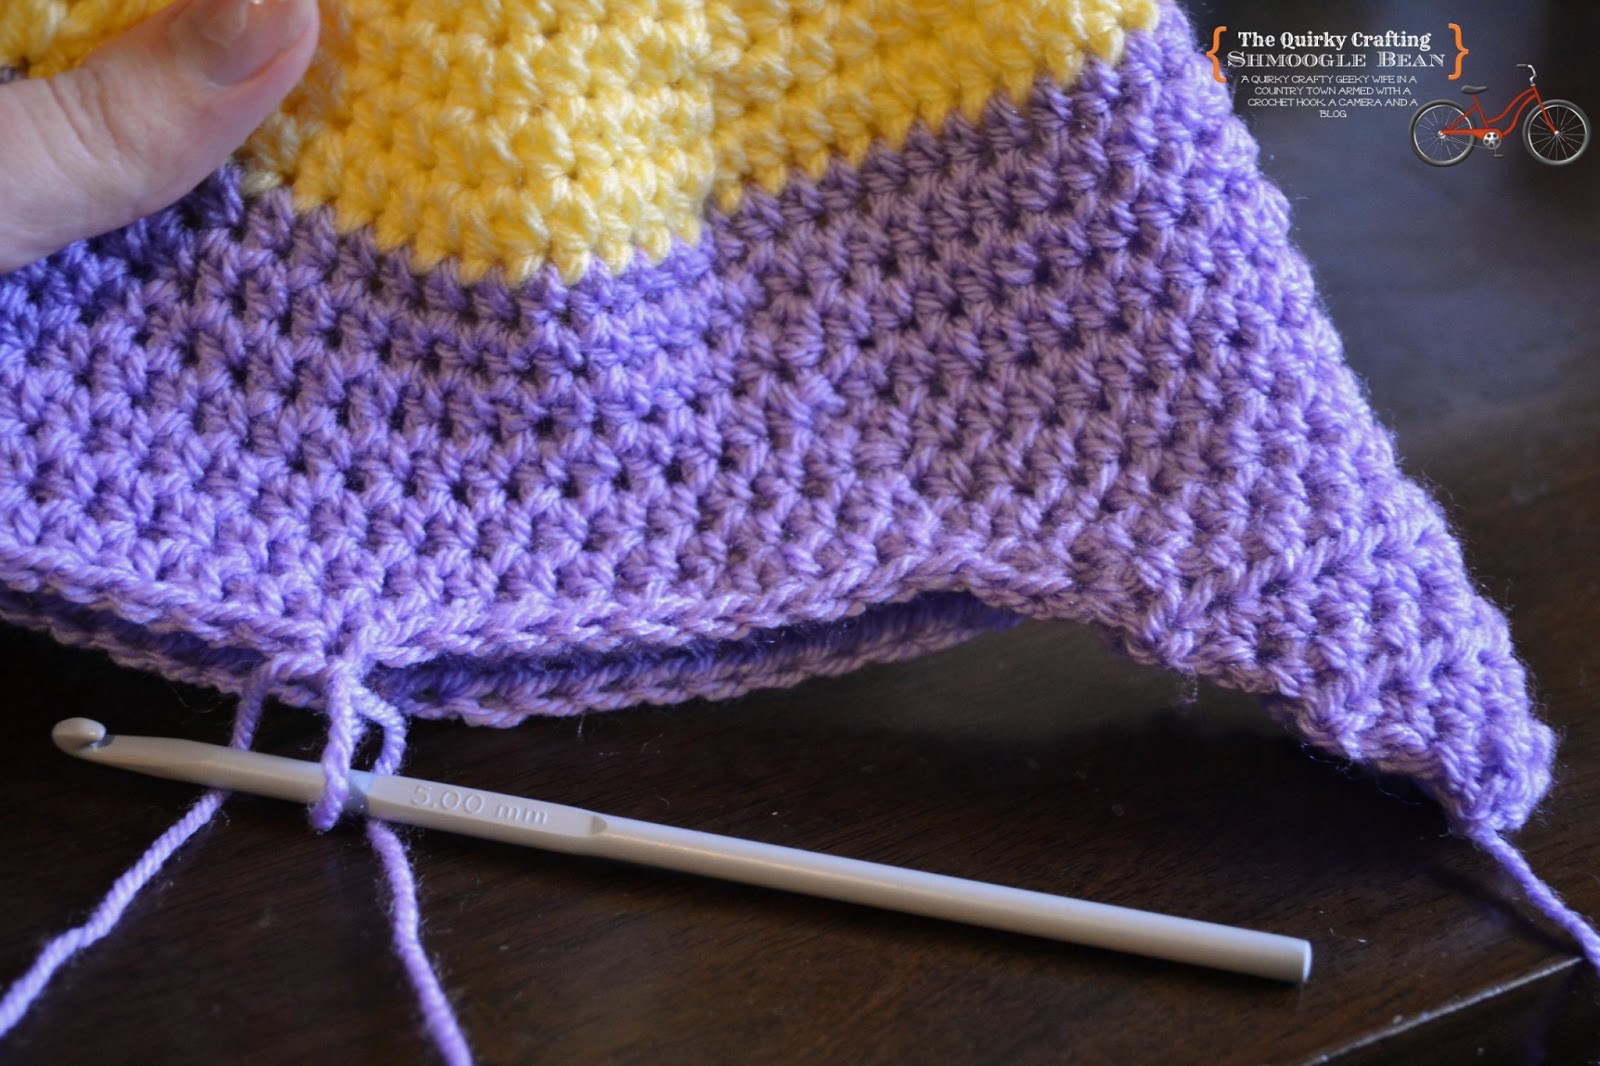 |
| To start second earflap, count across 10 sts and join yarn. |
For second earflap, count 10 sts from first earflap and join yarn in 10th stitch.
Ch 1, hdc across 14 sts. Ch 1, turn.
Skip next st, hdc across 12 sts. Ch 1, turn.
Skip next st, hdc across 10 sts. Ch 1, turn.
Skip next st, hdc across 8 sts. Ch 1, turn.
Skip next st, hdc across 6 sts. Ch 1, turn.
Skip next st, hdc across 4 sts. Finish off.
Finishing the hat
Take your first colour and sc all the way around the bottom of your hat. Weave in all your ends.

For the tassles
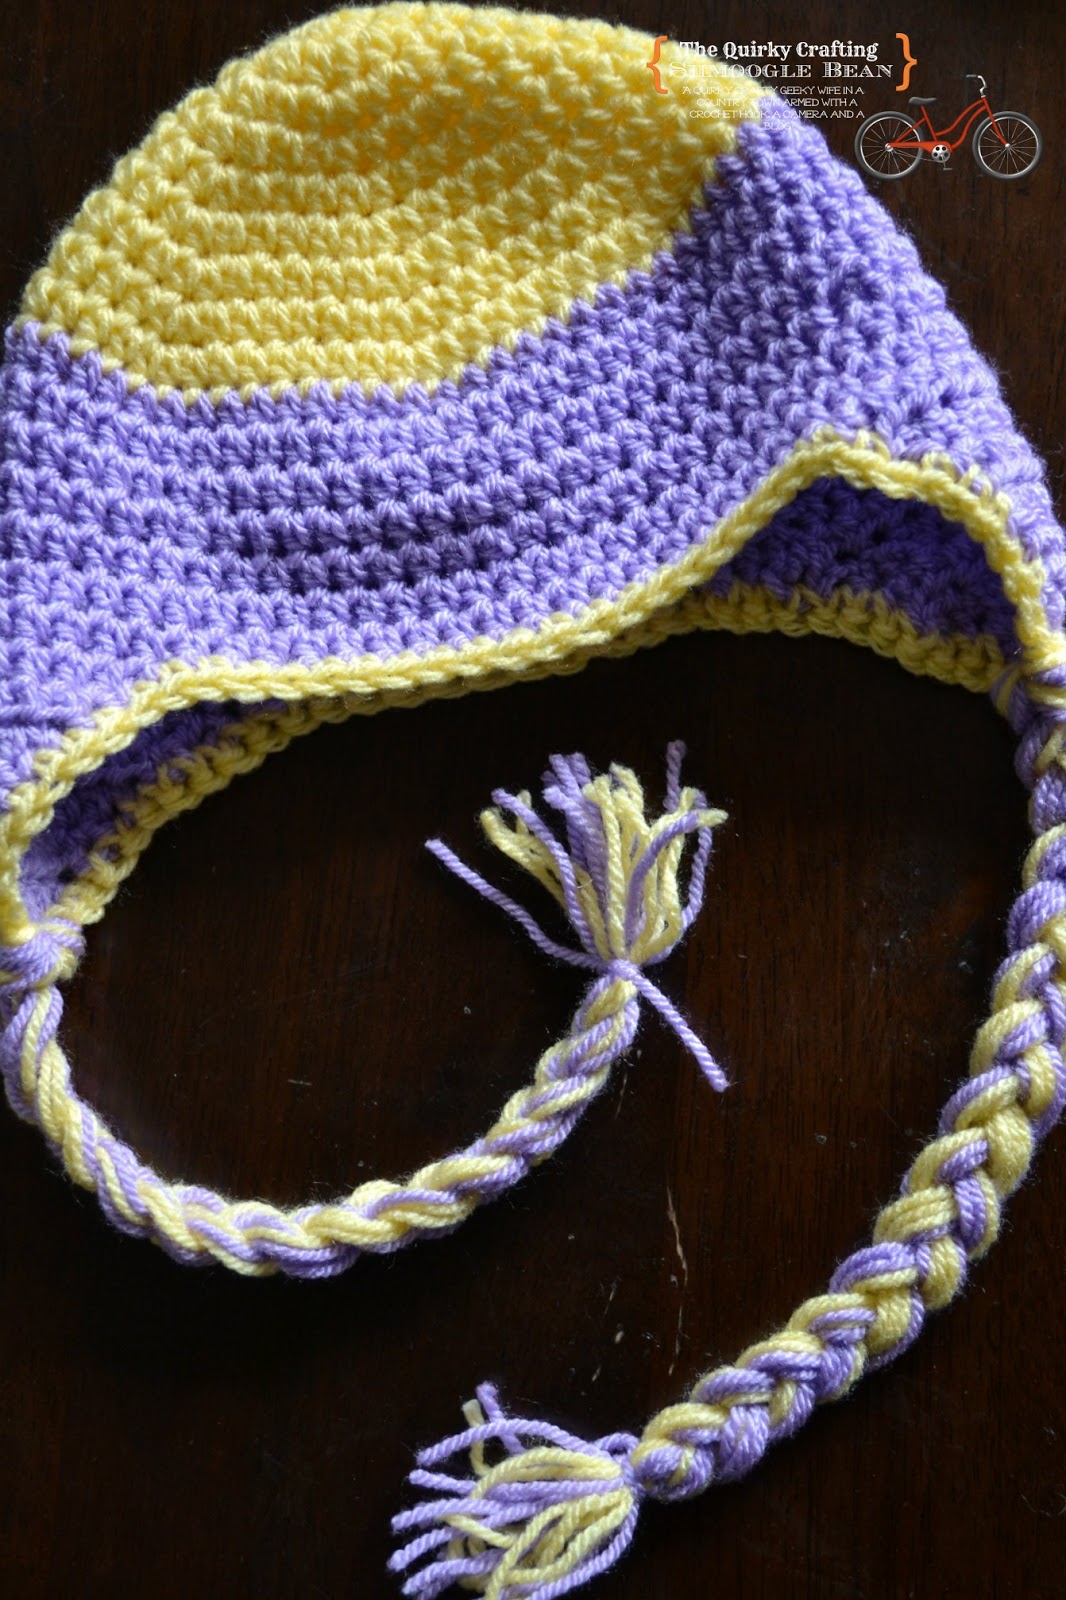
Cut 10 x 60cm lengths of yarn in each colour. Seperate the yarn into two halves. With your first bundle of yarn, attach them to the earflaps as shown.
 |
| Place crochet hook through the middle hdc on the bottom of one earflap from UNDER the earflap |
 |
| Fold your first lot of yarn in half over the crochet hook and pull taut. Pull hook through stitch to create a loop |
 |
| Bring the tail through the loop and pull gently to secure. |
For the eyes
Take your white yarn and crochet hook and make a magic circle. Work 10 hdc into the ring and join with a sl st. Ch 1 and hdc into same st. Then work 2 hdc into each st around, joining with a sl st at the beginning st to join. On the next round, Ch 1, hdc into same st *1 hdc in the next st, 2hdc in the same st,* repeat til end of round. Finish off leaving a long tail for sewing. Repeat for the second eye.
For the beak
Magic circle, dc, 2 hdc, sc, ch 1, sc, 2 hdc, dc into ring. Pull ring closed tightly, sl st into ring to close. Finish off leaving a tail for sewing.
Arrange your eyes and beak onto hat and sew into place. Sew on buttons.

Done!
I hope you enjoy working on this cute pattern! The best thing is you can make it for girls and boys and the pattern is easily adjusted to fit younger or older children (or even adult size!). If you have any questions, just ask and I'll get back to you when I can!

You're welcome to sell items made from this tutorial, I would appreciate a link back to here though if you'd be so kind..Please do not print then redistribute this pattern; you may not copy this pattern to another site without my permission; pattern is not to be copied/altered/partially reproduced in any way. Photos are all property of The Quirky Crafting Shmoogle Bean.
