Showing posts with label Newborn. Show all posts

Friday, 11 October 2013

A new arrival...

Meet the newest addition to the Quirky Bean Family!


Baby Lynton is 8lbs 4oz of squishy loveable perfection! He ended up being 11 days over due so on the 1st of October at 7am I went in to be induced. My waters were broken at 8am and I was started on Oxytocin, I didn't have my first contraction until 11am. As the hours progressed I didn't and bub didn't look like he was going to make an appearance on his own. I stayed 3cm dilated through horrible irregular contractions until late afternoon, it was hard hearing that after so many hours of such irregular pain I hadn't gotten any closer to meeting our baby boy, I found I just couldn't cope any more on gas alone. It was just crushing, the little amount of control I felt I had went out the window and I ended up needing an epidural. For about an hour afterwards I was so exhausted and tried to sleep... guess what happened?! While I was dozing I dilated the remaining 7cms! I remember the midwives telling me to push then the obstetrician coming in...all she said was that baby needed some help coming and all of a sudden things started happening around me. Forceps, an episiotomy, internal stitches, a manual removal of the placenta and 800ml of blood loss later baby Lynton was finally born, put to my chest and oh my the world just stopped turning. Meeting our baby at 7.33pm was the most incredible experience of my life! A part of me is disappointed that I couldn't go into labour on my own, that I couldn't birth my child without needing all the drugs available to me, that when it came down to it I couldn't push effectively enough to bring him into the world on my own but I couldn't have planned for any of it to happen and there was nothing more important than our little guy's safe arrival. Of course then I was stuck in birthing suite until 5am the following morning because the epidural hadn't worn off until then, I was trundled off to a room and from then on our lives changed forever! It's now 11 days post birth and like all new parents we're stumbling our way through it all; even with all the troubles that come with learning to breastfeed, the sleepless nights, the worry we feel over every little hiccup and noise our baby makes, we are absolutely smitten with our son and really, we finally know that somehow everything will just be ok.

Now that he's here we're focused on our BIG move to the Northern Territory in 2 weeks time and somehow planning a trip to see my family before we leave, lots of huge changes are coming our way, lots of new experiences and I'm sure lots of new stresses but to be in our space again with our own routines and essentially having our own lives back everything we've been through up until now seems worth it. Adjusting will be the biggest step for me, and I'm terrified that my depression will sneak back but at the moment, taking it one day at a time is our best and only option.

Welcome to the world, my darling Baby Shmoogle Bean! 

Thursday, 10 October 2013

The beginning of a new adventure!


I've decided to affectionately label our soon to be new little family the Quirky Bean Family. From the day we announced to my parents that we were expecting, my mother knicknamed the little blob on the 7 week ultrasound 'Ju Ju Bean', when I was young I was 'Shmoogle Bean' and I guess they both just stuck! Mind you my mother also used to call me Doo Doo Bug but hey, who wants to be publicly known as a Doo Doo Bug? I'm sure it was meant as a loving term of endearment and she wasn't in fact referring to me as a dung beetle. Well that little Ju Ju Bean of mine is now 8 days overdue and driving his mummy and daddy insane with waiting. Every little twinge I wonder if it's the beginning of labour! As it happens Baby Bean is posterior and hasn't begun to engage at all so this mumma bear will be trotting off to the hospital in 2 days time for an induction. Back to blogging!! It's particularly convenient as in about ooooh 2 weeks time, this little family will be packing up their lives again and taking one heck of a long road trip from Albury, NSW to Palmerston, NT with a newborn baby. There will first be a 13 hour trip from here to Port Macquarie where we will spend a week with my family, then from there we begin an 8 day 'adventure' by car to nearly the other end of the country. You see now why this is such a crazy decision?! It's no crazier than moving here in the first place mind you. We came here when we did because we reasoned that moving before Baby Bean was born would be easier than after. HA! Funny right? Trust me, the irony is not lost on us. 

But it's a step in the right direction! 

We aren't the first people in human history to be making such a journey under these circumstances though, and that gives me hope that it can be done. I try not the think about the multitude of things that need to happen between now and when we get on the road because let's face it, who wouldn't have a meltdown?! And believe me when I say I have had more than my fair share of those lately. As I said, it's been difficult. The best we can do is take it one day at a time and work through what needs to be done one bit at a time without looking too much at the big picture. The big picture is a wall sized Pollock/Warhole mash up framed in solid lead and hanging precariously on 3 rusty nails hot glued to the plasterboard. Do what needs to be done and don't think too far into the little things or your brain may explode. Not so much COMPLETE denial, but small amounts to get us through isn't such a bad thing. 

It's been a bumpy ride but we've had amazing outside support from various military personnel, we've had a lot of advice and encouragement come from people who have lived and worked in Palmerston and everyone we speak to tells us that we couldn't have scored a more perfect first posting. My husband was *somehow* (thank the universe!!) lucky enough to transfer straight from a stand-down reserve position into a full time position. Once we got over the initial 'there's no way we can move that far' shock and started to work through the planning process we realised how completely do-able it really is! We worked out a rough travel plan that suited us and got the green light for it, we have a place to live picked out on the other end, we've arranged for all our things to be picked up and moved (handy thing that we were already packed!), we're sorted travel for the two furbabies...it's working! BUT it really does come back down to Baby Bean's arrival. He'll be here no later than next Tuesday but so much of this depends on his delivery and both his and my own health. There is absolutely NOTHING more important right now than getting little Bean here and in good health.  I tell you what, when you've been growing a little person for 9 months and you go 8 days past your due date it REALLY tests your patience and sanity! (You know what else tests your patience? Having a multitude of people ask you everyday whether you 'had that baby yet' or tell you which day would be convenient for his birth... why do people insist on asking idiotic questions to a hormonal blimp? It can never end well)
 We just want to meet you little man! I want to see what colour your hair is, what colour your eyes are; I want to see your tiny toes and feel your little fingers wrap around mine! I want to see you take your first breath, feel your new skin, wrap you up and snuggle you and tell you how much we love you and what a perfect joy you are to our lives. It's all well and good to be told you have a tiny human inside you, it's all fine and dandy to feel those kicks (and when your baby is posterior... you really FEEL them!) but looking down at my stretchmarked mass of bump I constantly find myself wondering how just an inch or two under there is a teeny weeny perfect little baby. It's surreal! 

Everytime we go into town and I hear a new baby cry I have this overwhelming urge to rush to it and comfort it, it's driving me bonkers. I keep having weird dreams about babies and NONE of them are the slightest bit realistic. One night I dreamt that I gave birth to the baby out of Spirited Away!! Every night I go to bed wondering if I'm going to wake up to my waters breaking, or to that first contraction and wake up disappointed the next day. Then to go in for my last OBS check up and find out that I hadn't dilated at all, and that baby is still very high up really dampened my spirits. I was hoping for just a little bit of progress... I've been told that labour can just spring on you out of the blue and take you by suprise, and I've been waiting, but it hasn't happened for me yet. As another day comes to an end I'm getting less and less confident that I'll go into labour on my own. It was just one of those things, you know? It can't be helped of course, whatever needs to happen to make sure Baby Bean arrives happy, healthy and screaming is fine by me. That doesn't stop me from being terrified of being induced of course but I'll manage! 

So there we go, today seemed like as good a place to start as any... right on the edge of all that's about to change! Or on the edge of glory... if you were Lady Gaga. I'm off to, oh wait, no I'm not off anywhere, probably just 1 metre to my left to bounce on my fitball for a while in the hopes that baby might fall out. That's how it works right? 

P.s I see my parents tomorrow sometime, they drove all the way here to visit and to be here for the birth. My mum told me that once they've given me all the squeezes and belly rubs the rest of the family have sent I'm going to look like a half empty squeezed tube of toothpaste. What's life without humour? 

Sunday, 9 June 2013

Seashells Baby Jumper Free Pattern


It has been one very dark and dreary Sunday here at Shmoogle Bean H.Q today; cloudy and overcast outside and me with horrible heartburn and you-don't-want-to-know-what-else pregnancy 'side effects'...hubby was out today helping a mate on their property so I had a VERY quiet day. So there I was happily asleep last night when 4.30am hits and BAM I'm awake. And I stayed that way til 6.50am! This pattern is the brainchild of my lack of sleep and was conceived in the early hours only to be very lazily worked on throughout the day to bring you a finally completed pattern now at 5.30pm! It's hard to focus on the uncomfortable side of pregnancy when you're crocheting cute little baby things :o) I hope you'll enjoy this one! Please feel free to sell the finished product, just the usual applies to the pattern itself... i.e it's not to be copied/reproduced in part or in whole anywhere, not to be sold or redistributed, photos are property of moi, etc. 

Seashells Baby Jumper ~ Size newborn to 3 months
You will need: 
4.5mm hook
5.5.mm hook
8ply yarn in white
8ply variegated yarn 
yarn needle

Using 4.5mm hook and first colour. 
Chain 52
Row 1: Dc in 4th chain from hook. Dc in next 5 sts, 3 dc in next st, dc in next 9 sts, 3 dc in next st, dc in next 14 sts, 3 dc in next st, dc in next 9 sts, 3 dc in next st, dc in next 7 sts. Ch 3 (chain 3 counts as a st now and throughout), turn. 58 sts 
Row 2: Dc in each st across working 3 dc into middle st of previous 3 dc on last row.  66 sts 
Rows 3-6: Repeat row 2. 98 total stitches at end of row 6
What your work should look like at the end of row 6.
How to fold work to assemble sleeves.
Row 7: Dc in next 13 sts, fold work as shown to create first sleeve as shown lining up the middle sts of each 3 dc cluster. Dc through middle sts on both sides of work to create first armhole. Turn work, dc in next 26 sts. Fold second sleeve down as before, lining up middle sts of each 3 dc cluster and dc through both sides to form second armhole. Turn work, dc in next 13 sts to end. Join with a slip st to top of chain 3 at beginning of row. Finish off. 
Front view after completing row 7
Back view after completing row 7
Using 5.5mm hook and second colour...
Round 8: Join second colour yarn in sl st space of previous row.
Ch 3, 2 dc in same st, skip next 2 sts, sc in next, skip 2 sts *5 dc in next st, skip 2 sts, sc in next st, skip 2 sts* around to beginning. 2 dc in beginning sl st to complete first shell, sl st to top of ch 3 to join. Ch 1. 
Round 9: Sc in ch 1 space, skip 2 sts, 5 dc in next sc, skip 2 sts, sc in top of shell of last row, skip 2 sts *5 dc in next st, skip 2 sts, sc in next, skip 2 sts, 5 dc in next st* around to beginning. Sl st to first sc to join. Ch 3.
Round 10: Repeat round 8
Round 11: Repeat round 9
Round 12: Repeat round 8
Round 13: Repeat round 9
Round 14: Repeat round 8
Round 15: Repeat round 9. Finish off. 
What you should have at the end of round 15

Round 16: Join first colour in sl st space, repeat round 8. Finish off. 

Using 4.5mm hook and first colour...
Flip work over and join yarn in bottom of left side of opening, sc up the side, around neckline, and down right side. Finish off.

Join yarn in armpit of first sleeve, ch 1, sc around opening and join with sl st. Finish off. Repeat for second sleeve. Weave in all the ends and sew two buttons to one side of the opening on the back to complete the project. 

Please enjoy and happy crocheting as always :o) 

Friday, 10 May 2013

Two free newborn crochet hat patterns


So it's that glorious day of the week again.. FRIDAY! All together now with the sigh of relief 1,2,3 *Ahhhhhhhhhhh* Not really many better ways to spend a Friday afternoon than crocheting (in my opinion anyway) and today I've whipped up two newborn hat patterns for you... and yes these are more hats to add to Baby Shmoogle Bean's ever-growing stash. I am fast approaching the bottom of my scrap yarn box which is absolutely horrible because at the moment we don't have the spare cash for new yarn to start refilling it with :( Such is life! We make do with what we have right? I made both of these with one less-than-half ball of yarn and one even-less-than-half ball and as it turns out there was JUST enough. Anyhoo they're both quick to work up and go nuts with colour combos! Enjoy! I'm off to make some more with what's left of my scraps :)

You'll need:
'H' or 5mm crochet hook
2 colours acrylic (or whatever you like to use) yarn

Stitches used:
MC (magic circle)
Ch (chain)
Dc (double crochet)
Hdc (half double crochet)
Sc (single crochet)
Fp hdc (front post half double crochet
Bp hdc (back post half double crochet)
Sl st (slip stitch)


With colour A
Round 1: Mc, ch 3, 10 dc in ring. Sl st to top of ch 3
Round 2: Ch 3, 2 dc in next st *2 dc in each st around* sl st to top of ch 3
Round 3: Ch 3, 2 dc in next st *1 dc in next st, 2 dc in next st* around. Sl st to top of ch 3
Round 4: Ch 3, 2 dc in next st *1 dc in next 2 sts, 2 dc in next st* around. Sl st to top of ch 3. Finish off.
With colour B
Round 5-6: Ch 3, 1 dc in each st around. Sl st to top of ch 3. Finish off
With colour A
Round 7: Ch 1, 1 sc in each st around. Sl st to beginning ch 1. Finish off
With colour B
Round 8-9: Ch 3, 1 dc in each st around. Sl st to top of ch 3. Finish off
With colour A
Round 10: Ch 1, 1 sc in each st around. Sl st to beginning ch 1. Finish off
With colour B
Round 11: Ch 3, 1 dc in each st around. Sl st to top of ch 3. Finish off
With colour A
Round 12: Ch 1, st st around base of hat. Finish off, weave in ends.


With colour A
Round 1: Mc, ch 3, 10 dc in ring. Sl st to top of ch 3
Round 2: Ch 3, 2 dc in next st *2 dc in each st around* sl st to top of ch 3
Round 3: Ch 3, 2 dc in next st *1 dc in next st, 2 dc in next st* around. Sl st to top of ch 3
Round 4: Ch 3, 2 dc in next st *1 dc in next 2 sts, 2 dc in next st* around. Sl st to top of ch 3
Round 5-8: Ch 3, 1 dc in each st around. Sl st to top of ch 3
With colour B
Round 9: Ch 3, 1 dc in each st around. St st to top of ch 3
Round 10: Ch 2, *1 Fp hdc in next st, 1 Bp hdc in next st* around. Sl st to top of ch 2
Round 11: Ch 1, 1 sc in each st around. Sl st to beginning ch 1. Finish off, weave in ends.

Friday, 3 May 2013

Newborn Baby Heffalump Crochet Pattern

The baby heffalump hat is something I've had on my 'to-make' list but everytime I tried I kept stuffing up the ears. This afternoon I was determined to work it out and after an hour or so I finally got it! Woohoo!! I was making one for Baby Shmoogle Bean and figured, well you know, why not take that bit of extra time to write it up as I go and share it with you lovely Beans :o) I feel slack for constantly MEANING to share patterns with you and then not actually doing it so here we go! Lucky you hehe The pattern involves a bit of the old 'just eyeball it' technique for lining things up and such but you'll be right, I promise!

So you'll need:
5.00mm hook
8 ply yarn in grey and a bit of 8 ply in white
yarn needle for sewing

The stitches we're using this pattern are:
magic circle (MC)
slip stitch (sl st)
double crochet (dc)
chain (ch)
half double crochet (hdc)

This pattern is in newborn size only sorry... also please do not copy/reproduce this tutorial in whole or in part anywhere. Feel free to make and sell to your heart's content though.. I don't mind! :o) A link back to here or something would be nice though?

For the hat
Round 1 Start with a MC, ch 3, 10 dc into ring. Sl st to top of ch 3 to close.
Round 2 Ch 3, 1 dc in same st. *2 dc in each st around* Sl st to close.
Round 3 Ch 3, 1 dc in same st *1 dc in next st, 2 dc in next* around. Sl st to close.
Round 4 Ch 3, 1 dc in same st *1 dc in next 2 sts, 2 dc in next* around. Sl st to close.
Round 6 Ch 3, 1 dc in each st around. Sl st to close.
Rounds 7 to 10 Ch 3, 1 dc in each st around. Sl st to close.
Round 11 Ch 1, 1 sc in same st. 1 sc in each st around. Sl st to close. Finish off. Sew in ends.

For the ears (The ears are made in two parts, the upper ear and the lower ear sections. The inner ear sections are also made seperately and are made in two parts. We will sew all pieces together in the last stage)

Upper Ear (make 2)
Round 1 Start with MC, ch 2, 13 hdc into loop. Sl st to top of ch 2 to close.
Round 2 Ch 2, 1 hdc in same st. 2 hdc in next st and in each st around. Sl st to close.
Round 3 Ch 2, 1 hdc in same st. *1 hdc in next st, 2 hdc in next* Sl st to close.
Round 4 Ch 2, 1 hdc in same st. *1 hdc in next 2 sts, 2 hdc in next st* over next 26 sts. Finish off.

Lower Ear (make 2)
Round 1 Start with MC, ch 2, 10 hdc into ring. Sl st to top of ch 2 to close.
Round 2 Ch 2, 1 hdc in same st. 2 hdc into next 7 sts.
Round 3 Ch 2, turn. 1 hdc in same st. *1 hdc in next st, 2 hdc in next st*
Finish off leaving a long tail for sewing.

Joining Upper and Lower Ear sections:
Overlap upper and lower ear sections using image below as a guide. Sew in place. Repeat for second ear.
Join yarn in top of ch 2 at the top of the ear piece. NOTE: for one ear you will work top to bottom and for the other ear you will work bottom to top. Make sure your ear pieces are right way facing before joining yarn. If you sc around both ears top to bottom one will be the wrong way around
Ch 1, in BACK LOOPS ONLY 1 sc around ear from top to bottom. Finish off. Repeat for second ear.
Inner Ear Sections:

Inner Ear Top (make 2)
Round 1 Start with MC, ch 3, 11dc in ring. Sl st in top of ch 3 to close.
Round 2 Ch 3, dc in same st. 2 dc in next st and in each st around. Sl st to close. Finish off. Leave long tail for sewing.

Inner Ear Bottom (make 2)
Round 1 Start with MC, ch 3, 11 dc into ring. Sl st to close. Finish off. Leave long tail for sewing.

See image below for place of inner ear sections, you'll need to overlap them a little. Once you're happy with the placement, sew them into place. You can also see how to ears will sit against the hat.

 Once you have all the ear pieces sewn together you're ready to sew the ears into place against the hat. Make sure the bottom of each ear is placed at the base of the hat. I hate sewing things that 'stick out' on crochet, I find it really tricky... so I can't really advise on how you should do it... just kind of wing it and hope for the best :o) You're probably better at it than I am anyhow. Once you're happy it's secure... and all your bits are sewn in, then you're probably done! Also if there are any mistakes in the pattern please let me know, I'm writing this up at 11pm at night and I may have missed something... happy crocheting!


Monday, 15 April 2013

Itty Bitty Crocodile Stitch Booties FTW!

When I first found this pattern I thought the crocodile stitch was the hardest crochet stitch in the universe (not blowing it out of proportion or anything of course)... much cursing went on whilst I tried to get my already ache-y brain around it (because when you've had morning sickness and a throbbing headache all day the next obvious step is to try and crochet something DUH) You can probably imagine how uber stupid I felt once it clicked and turned out to be easy peasy WHOOPS! Anyhoo now I've got the hang of it and all is well.... behold my booties! Down right adorable :o) I have to say, of all the bootie patterns I've tried in the past these are the easiest to work up, and easier still once you get the hang of the scales around the top. The V-stitch is fast and simple and this pattern can easily be adjusted to fit any sized foot big or small!
The pattern calls for a 4mm hook but as I was working with baby ply yarn I used a 4.5mm and they should fit 0-3 months. You can find the fabulously free pattern at Lolly's Crafty Crochet and if you search for these on Ravelry you can download the PDF too :o) These will be keeping tiny tootsies warm and toasty come September!

Linked up to
Moogly

Wednesday, 16 January 2013

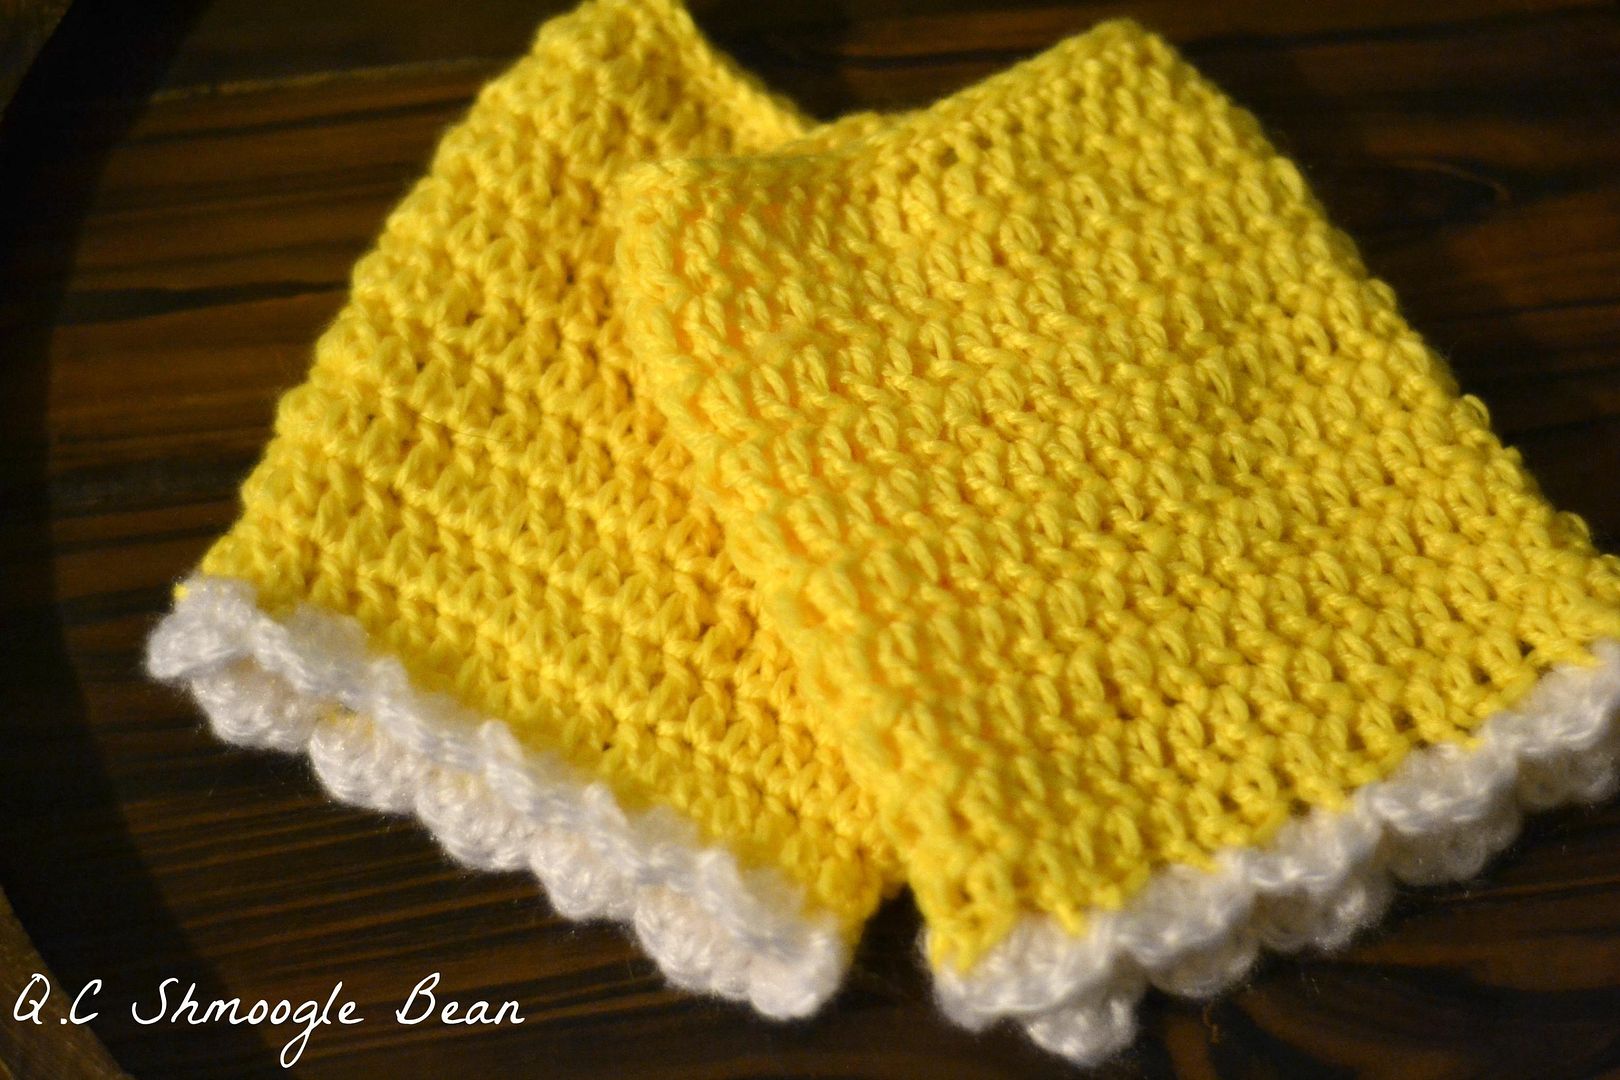
Sunshine Leg-Warmettes ~ Newborn Crochet Pattern

Photobucket
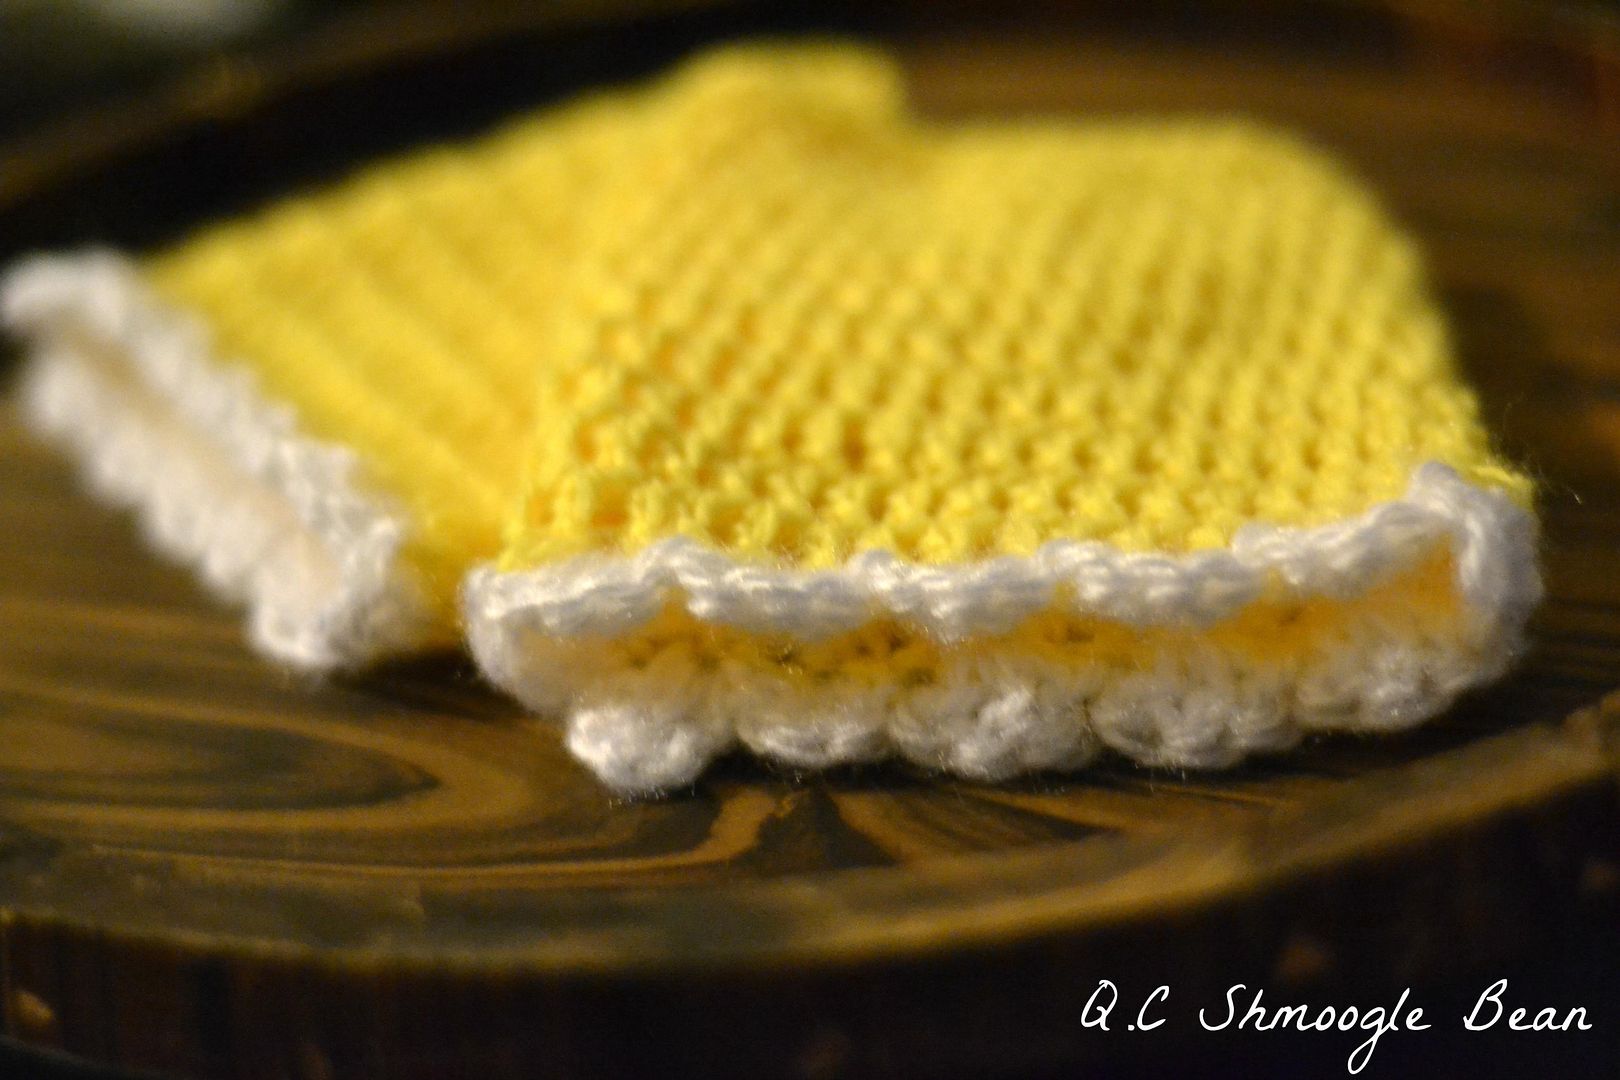
They're not full legwarmers, they're legwarmettes! Designed to compliment the Sunshine Bonnet these cute little crochet creations fit over the knee and stop at the ankle for full cuteness overload in your newborn photos...  They don't take a lot of yarn or time to whip up and would look beautiful with a solomon's knot wrap or layering blankets for Spring shots. As with the Sunshine Bonnet, these will fit best within 14 days of bubs arrival up to 1 month; you may need to add another few rows of dc to fit up to 3 months. These are worked in rounds so you'll need a stitch marker. You'll also need:
  • a 4.5mm crochet hook
  • yellow 8 ply yarn
  • white  8 ply mohair or yarn for scalloped edge
Make two. With the yellow yarn:
Chain 37 and join with first chain, being careful not to twist it. Work 1 dc in each chain around. Continue to work 1 dc in each st around until you have 10 rows. Once you have 10 rows, work 1 row of sc, then sl st around the top. Weave in ends.
Change to your white yarn and join to the opposite end to the slip stitches. Chain 3, work 2 dc into same stitch, sl st into next stitch, skip 1 st *3 dc in next st, sl st to next, skip 1* around. Sl st to first chain.


Photobucket

Sunshine Bonnet ~ Newborn Crochet Pattern

Photobucket

Modelled by Miss Mushroom! It's easy peasy and oh so cute as a photog prop! It will fit newborns best within the first 14 days but can be used for bubs up to 1 month old. For this hat we'll be working in rounds. Repeat between ** each round and remember to move your stitch marker each round so you know where to end and begin. You'll need:
  • a 4.5mm crochet hook
  • a stitch marker
  • yellow 8 ply yarn
  • white 8 ply mohair (or 8 ply white yarn)
Photobucket
For the Bonnet:
Starting with a magic circle and your yellow yarn, chain 3 (counts as first dc) and work 11 dc into ring, close do NOT join.
Round 1: 2 dc in each st around
Round 2: In 3rd chain of beginning dc work 2 dc. *1 dc in next st, 2 dc in next st*
Round 3: *1 dc in next 2 sts, 2 dc in next st*
Round 4: *1 dc in next 3 sts, 2 dc in next st*
Round 5: Ch 3, turn. 1 dc in next 50 sts leaving remaining 13 unworked. Ch 3, turn.
Round 6: 1 dc in next 50 sts. Ch 3, turn.
Round 7: 1 dc in next 50 sts. Ch 3, turn.
Round 8-11: 1 dc in next 50 sts.  Finish off with yellow.
Bonnet Trim:
Using white yarn, join to last st made, working along front of bonnet: Ch 3, 2 dc in same st, sl st to next st, skip one stitch, *3 dc in next st, sl st to next, skip 1 st* Finish off. Weave in ends.

For the Ties:
Using white yarn, chain 55. 1 sc in second ch from hook and in each st along. Finish off. Repeat for second tie. Weave in ends and sew to either side of bonnet.

Photobucket
Cute right? Why not make a pair of matching Sunshine Legwarmettes to complete the set! Enjoy :)