Yesterday I learnt how to make wavy crochet, it's a very nifty technique and I instantly thought how cool would it be to make a flower with this crochet style? So, with a bit of fiddling, I found this works pretty well and if you're like me and LURVE crafting flowers, I'm sure you'll find a million uses for them! It's nice and easy, but you will need to know a few crochet techniques before you start such as how to increase and decrease. These are quick to whip up, so enjoy making oodles of them!
You will need:
8ply yarn
yarn needle
4.00mm or Size 'G' hook
Having the correct tension in this project is not important, you could use almost any size hook and yarn combination for a varied effect. Trying this will give a lovely range of different sized flowers!
Also you may want to use a crochet marker, if you're a bit muddle headed like me and forget what you're doing. A paperclip works pretty well.
Abbreviations:
dc - double crochet
st(s) - stitch(es)
ch - chain
(dc2tog) - half double crochet 2 stitches together (otherly known as a double crochet decrease)
inc - dc increase
For this flower we'll be working in multiples of 12 and working with a double crochet (dc) so you will need to start with a chain of 48. Add another 3 chains to this number as this will count as your first dc stitch.
In the 4th chain from hook, 1 dc then *1dc in each of the next 3 sts, (dc2tog) twice, 3 dc in next 3 sts, dc inc over next 2 sts* In last st, 2 dc.
It's easiest to understand how this crochet technique works once you give it a try and see for yourself. Each time you create a dc decrease, and a dc inc you are creating the ric-rac effect in your crochet. You will begin to see it working clearly after the second set of 12 sts.
 |
| After the second set of 12 stitches you will begin to see the wave in your crochet happening |
You can see I have miscounted my stitches somewhere, as I have 2 chains remaining, but it doesn't really matter, just pop a dc into each of them and don't worry about it too much :o) Finish off with a slip knot and cut yarn leaving a tail of about 25cm.
 |
| See on the end there how I have 2 chains remaining instead of 1? It doesn't really matter, it won't affect your flower any :o) |
 |
| Your finished wavy crochet should look like this |
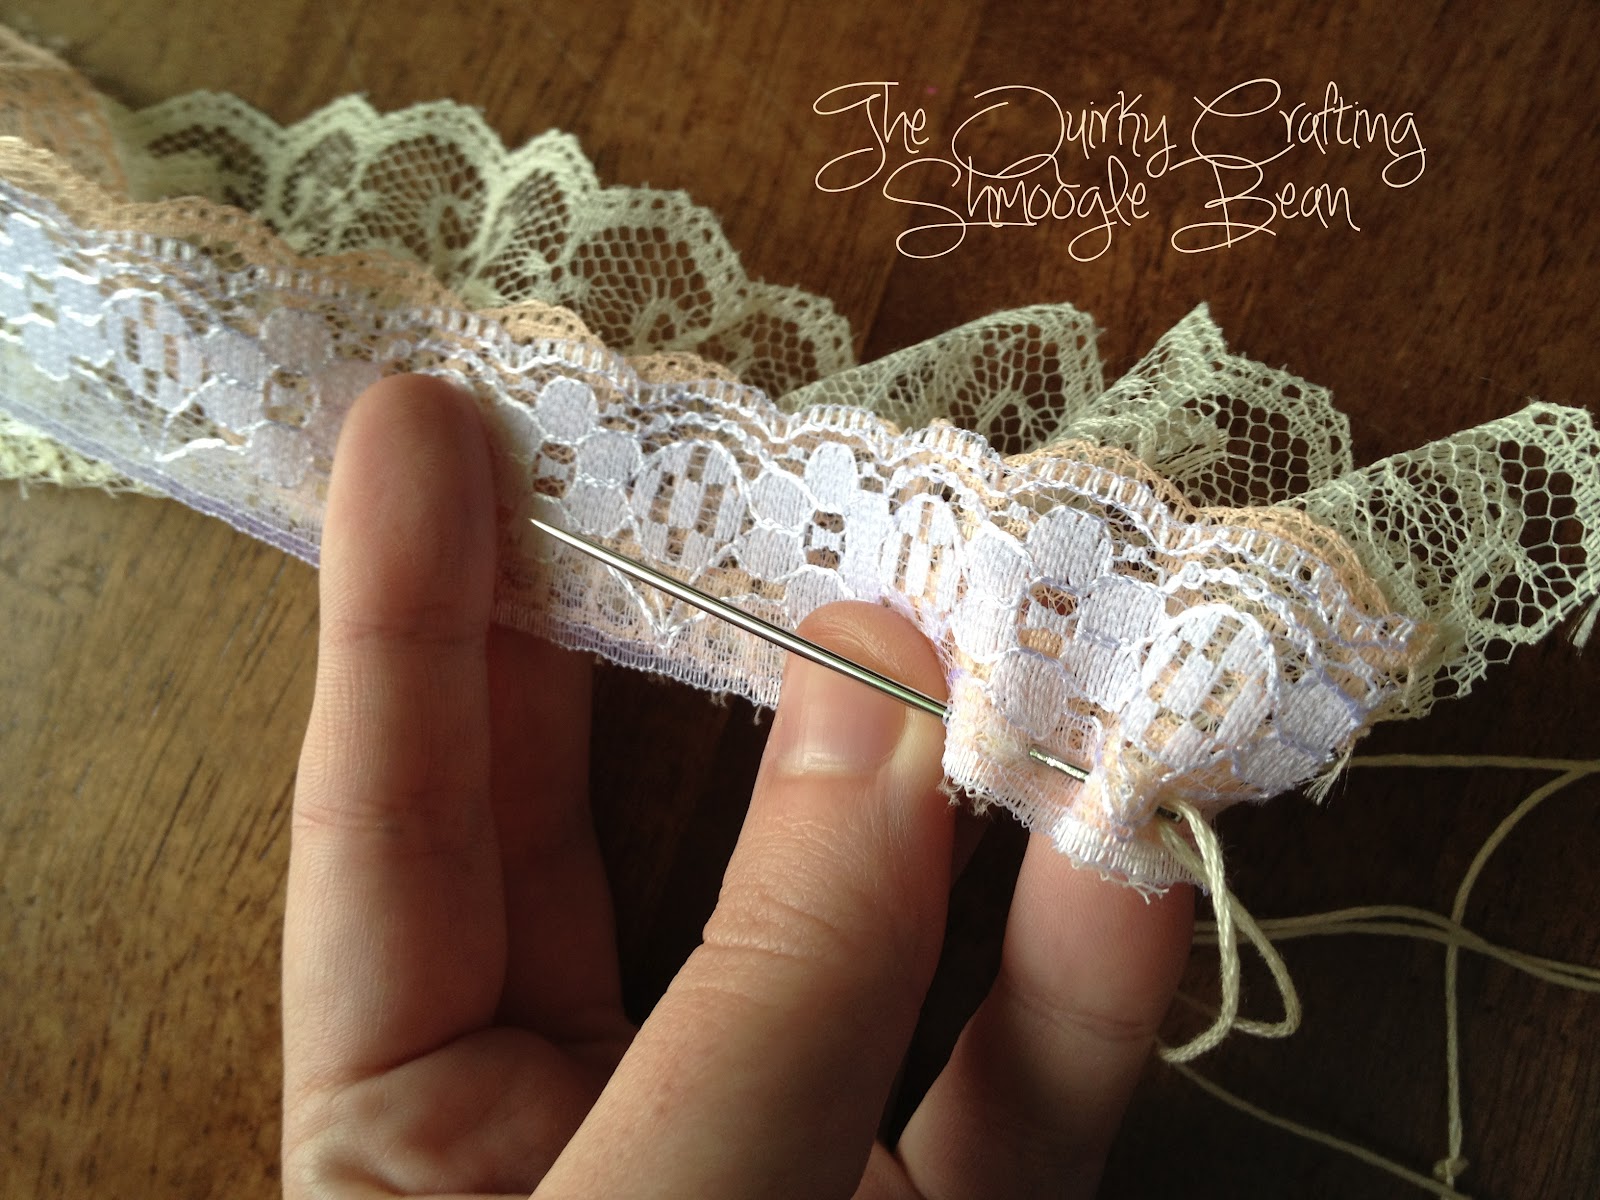
Now, thread your 25cm tail into your yarn needle and run your needle along the bottom of your ric rac pulling the yarn tight as you go so it begins to gather and curl (you can cut off that other straggler yarn, you won't need it)
You should have something like this!
Now overlap the two ends of your crochet together a little, and thread your needle through the two layers, pulling tight. Using the remaining thread, sew on a button over the centre of your flower.
And you now have a sweet little crochet flower! You can make them bigger or smaller by adding more or less sets of 12 chains or when you reach the end of your crochet, instead of finishing off, turn and repeat the row; once you get the hang of it, you'll be addicted! I've yet to come up with a use for mine yet, I want to make a few more but I just don't have time today, ahhhh life getting in the way of my crafting :o) What are you going to do with yours?