Showing posts with label Recipes. Show all posts

Thursday, 11 October 2012

I seeeee yooou haha sorry... it's the eye of Sauron

Sorry for the lack of crafty posts recently guys!! I've been feeling a bit 'whats the point' with it lately and resisting the urge to have a rather long blog-rant about it. Anyhoo, I've been kept busy with my photography lately, some of it good some of it not-so-good. The eye of Sauron is always upon me, as are his spies (euphemism for shitty people) and I just haven't felt inspired to do anything! Nooo, that's not me being paranoid...well perhaps just a little...but mostly that a) no one will probably see it b) no one will probably care c) it's probably already been done WHOOPS it's turning into a rant! END RANT END RAAANT!


HA! see? Now the eye of Sauron is on you too!

I have been doing stuff...really I have. My parentals are coming for a visit this weekend ^.^ Just out of the blue! I can't wait to see mumsy and father bear and the sibling units!! SQUEEEEEE we've been madly cleaning up our teensy little apartment so my family can see that I can take care of a living space *COUGH* at the last minute. Oh c'mon, don't give me that look! I bet you do the same! We bought a new vacuum recently and it's a BOSS! I reckon it would suck up my dog Spaz if he got too close, which of course he won't coz he's terrified of the thing (probably for that reason! DUH) so I've been able to do a proper clean YAY! Seriously I hate dog fur everywhere...I love my inside doggies, I truly do but dog fur is my (counts on fingers) 6th or 7th worst enemy!

Could you believe it? It's been warm here allll week and the day my parents are due to arrive and we're expecting snow...not that it was ACTUALLY snow, they predict it every year but it never happens. Sort of wish it would though, that would make some rad photos!!!!!

So yes, I have been doing stuff...here's a summary:
  • Had our one year wedding anniversary, and it was lovely, thankyou for asking :o)
  • I've been glueing sequins to a canvas
  • I'm planning a giant GLITTER FEST
  • I got dressed in Victorian garb and had a tea party in the park last week
  • I was supposed to be at Roller Derby training this week but couldn't because I'm terrified of being on things that move (that's what SHE said! HA!)
  • Yesterday I was so sick I thought I was going to die. Luckily though I didn't! Yay for me!
  • I am still working on my handmade for Christmas thing, but I'm changing it from a tab on my blog (you'll notice it's missing) to a few posts instead, it's coming but I'm lazy
  • I have to go to the doctor on Monday as I may have PCOS or endometriosis :(

Also...don't you reckon David Wenham is spunky? I think so.
 
Source: listal.com via David on Pinterest

Oh yeah... here's what I had for lunch..thought you might want to try it, it's pretty tasty. I guess it's a type of omelette.

In a bowl crack 3 eggs, add a handful of sliced mushies, a sprinkle of mixed herbs and pepper and a handful of grated cheese. Tip it all into a teeny saucepan (on medium heat with a tinsy bit of butter)

and leave it til the egg cooks through (10 minutes-ish). Flip it over, leave for another 5 minutes, tip it onto a plate and voila!


also it was just coincidence that my omelette thingy was the perfect size for my little plate ^.^ Cooking win!
 There! Til next time!


Saturday, 25 August 2012

Rainbow Swirl Cookies!

Hiya guys! Happy Saturday morning! Truly the best part of any weekend I think :o) During the week I had a bit of fun and created RAINBOW cookies!! They sort of make me think of Hypno-Toad from Futurama... Hypno-Cookies? ;o)


INGREDIENTS
  • 150g unsalted butter, at room temperature (nice and soft!)
  • 3/4 cup caster sugar
  • 1 teaspoon vanilla essence
  • 1 egg
  • 1½ cups plain flour

OTHER STUFF YOU'LL NEED FOR THIS BIT 
  • 1 x mixing bowl
  • An electric beater
  • A flour sifter
  • A wooden spoon
  • 4 x brekky bowls (or four small bowls)
  • Cling wrap
  • Extra flour for kneading/rolling etc
  • Four colours of food colouring (I'm using yellow, green, blue and red).
  • A large cutting board or flat (CLEAN!) bench surface

It will also help if you have a kitchen sink full of warm water ready to rinse your hands in as you go....

MAKING YOUR BISCUIT DOUGH
In a mixing bowl  place your softened butter and sugar and using an electric beater, beat butter and sugar together until it looks light and fluffy! Add in your egg and vanilla and beat it all together so everything is all mixed in. Sift your flour into the big bowl with the butter. Using a wooden spoon, mix in the flour until it's mostly combined (just so the flour and butter mixture is stuck together)

COLOURING YOUR DOUGH!
Take 4 brekky bowls, and divide your mixture evenly between each bowl. Pour a little flour onto your flat surface then tip the mix from one bowl onto your bench and knead it until it forms a soft dough.
Poke your finger into the dough to make a small hole and add in 5-7 drops of your first colour. This is the fun part.... put a little flour on your hands and squish your dough between your hands (like playdough!!) until all the colouring is mixed into the cookie dough!

Next take some cling wrap and tightly wrap up your ball of dough.

Repeat this process for the other 3 other bowls of cookie dough mixing in a new colour to each batch.
Place all your wrapped up balls of dough into the freezer for 10-15 minutes until it firms up enough to roll out. You could put it in the fridge but I find it takes a little long that way... the freezer is much quicker! Just be sure to set a timer so you don't forget about them! You don't wanna do that, trust me hehe!

WHAT YOU'LL NEED FOR THE NEXT STEP
  • Baking paper or Greaseproof paper
  • A rolling pin
  • Extra flour for kneading/rolling etc
Preheat oven to 160 degrees (Celsius guys!!)

For the next bit, before taking the dough of the fridge, make sure you have your rolling pin handy, a bit of extra flour for rolling and a large sheet of baking paper.

Take your dough balls from the freezer. Unwrap one and sqeeze it a little between your hands to re-soften it just a little bit. Roll out one colour on your floured surface about 1/4cm thick.

Repeat with the other three colours. As you roll each piece out, lay it on top of the last cookie dough sheet on the baking paper til you have a flat stack of coloured doughs. Using the rolling pin, roll over the layers a few times to get them firmly pressed together. Place in the fridge for 10 minutes to let it firm up a bit.

ROLLING UP AND BAKING YOUR COOKIES!
Take out the sheet of dough from the fridge and using a sharp knife trim up the layers into a rectangle.
Starting at one end, begin to tightly roll up the layers til you end up with a big coloured rolled up sausage of cookie dough! Roll up the cookie sausage in cling wrap tightly and pop in the fridge for 5 minutes. Unwrap the dough and using a sharp knife, cut off slices about 1/2cm thick and place slices onto the baking tray.


Bake cookies for 20 minutes. The cookies won't brown and they will be very soft when you take the out at the end of baking time, that's perfectly fine! They will harden up as they cool :o) Leave them on the baking tray a little while before using a spatula to transfer them to a wire rack to finish cooling completely! And guess what? We're done!!


Sunday, 12 August 2012

Spiced Candied Orange Cupcakes

The sweetness of orange, thick juicy syrup, the sharp bite of ginger and hint of cointreau... You definately can't go wrong!! The smells coming from kitchen at the moment are simply to die for! So what am I doing? Experimenting!! I had a lot of oranges that were nearing their useful life and decided to try something a little different with them. Today I am making Spiced Candied Orange Cupcakes! OH MY are they delicious!

Now I need to fess up here before I go any further...this isn't purely down to my genius cooking skills (as much as I'd like it to be!) meaning it isn't ALL my recipe. It's a combination of a few I've found online (will post links back to the original as I go) BUT I have added my own little twists to make them unique and truly DELICIOUS! It combines some of my favourite flavours and I think for an experiment I can say it was a success! Enjoy!!  

For the candied oranges:
(click here for the original recipe
  • 2 oranges
  • 1 shot (30ml) Cointreau
  • 1/2 tsp ground ginger
  • 1 1/2 cups water
  • 1/2 sugar

In a small frying pan, combine the water and sugar and bring to the boil. Cut and segment your oranges as best you can, try not to have pieces that are too thick...I found this tricky so mine are various shapes and sizes! Haha Im not too much of a perfectionist though so it's all good.


I suck at segmenting!

Once your sugar syrup is boiling, add your orange slices, cointreau and ginger. Stir gently to combine and let simmer for about 1/2 an hour, stirring occassionally (carefully). The original recipe says 20 minutes but I found mine needed that extra 10 minutes. Your orange slices should be nice and tender but still intact when done. Remove slices from the syrup and let cool/drain on a wire rack. Pour the remaining syrup into a bowl and set aside... taste a tiny bit on a spoon....isn't that divine!?


NOM NOM NOM candied oranges!!!

For the cupcakes
Use your favourite basic vanilla cupcake recipe for this stage... there is nothing new or odd you need to add, just make and bake as usual! I've use the Taste.com Basic Cupcake Recipe today. Just a note if you do use this recipe...the batter will be very thick but when you cook it they even out and the tops round quite nicely :o) Mine are more giant muffins sized than cupcakes but oh well hehe!

For the Icing
One cup of plain 'ole icing sugar with 1/2 a tsp of ground ginger mixed in will make you a divine glaze! Now that syrup you set aside earlier? You'll be using that to mix your icing...Start with one tbs of syrup and combine with water little by little with the icing sugar slowly adding more liquid if needed until your mixture is at the right consistancy. You want it thick enough to coat the top of your cupcake but not so runny that it just falls straight off. Add in a tinsy bit of yellow food colouring... just for the aesthetics!

Top off each cupcake with a candied orange slice and CONSUME PEOPLE CONSUME! I'm not the best cupcake decorator... I'll admit! But they are DEFINATELY tastier than I've made them look here :o) Trust me!

I find they're the perfect combination of everything... love them!!!

Xx

Thursday, 19 July 2012

Tasha's Healthy Wholemeal Muffins


Combine in a bowl:
1 cup wholemeal plain flour
1 cup wholemeal self raising flour
1/2 cup brown sugar

melt:
100g butter
wait til cooled to room temperature

whisk with a fork in a seperate bowl:
1 egg

add to egg:
1 cup skim milk
1tbs vanilla extract

Add cooled butter gradually to milk mixture whilst whisking.  DO NOT add hot butter to milk as it will cook the egg. You don't want that, trust me.

Add wet ingredients to dry and fold mixture together until just combined (no longer than 10 seconds) This will keep them light and fluffy

Fold in 75g frozen berries of your choice (I'm using a mix of raspberries, blackberries and blueberries) defrosted and drained.

The batter will be thick and lumpy, that's what you want!

Spoon mixture evenly into muffin cups

Sprinkle rolled oats and brown sugar on top of each muffin

Bake at 200 degrees celcius for 20 minutes
Eat!

Your muffins should appear much like they did before you baked them, I just love that rustic look! They may look heavy but they're light, fluffy, not too sweet and great for you! The perfect afternoon snack or breakfast muffin! Store them in an airtight container and they should keep for about 4-5 days. One of my favourite spunky readers, Kim suggested adding a sugar cube to the container and that will help keep them a little fresher for another day or two :o)

For a variation, chop up two small apples into cubes and add raw to the muffin batter instead of berries and add some cinnamon to the mix before baking. Add oats and brown sugar on top as per the above recipe :o)


Porridge with Stewed Apples and Blueberries


I don't usually eat breakfast, which is an awful habit I know, but food before 11ish makes me feel pretty sick. I'm not sure why exactly but it does make eating regularly difficult for me. As part of my eating plan, it is essential that I eat something for breakfast so I've given myself three options; a banana soy smoothie, mixed berry wholewheat brekky muffins and a small bowl of porridge with stewed apples and blueberries. As this is the first day on my two week eating plan, I've chosen the porridge and thought I'd share the very simple recipe with you! It's only a small serving, but I find oats to be very filling and with the yummy fruits included, it's a great way to start my day.


You'll need:
1/3 cup skim milk
1/4 cup rolled oats
1/4 cup thawed frozen blueberries
1 small apple roughly chopped into cubes

1. Place your chopped apples in a small saucepan of boiling water and cook until tender. Once cooked, remove from heat and strain away the liquid. You'll only need half a small apple for this, so pop the other half of the cooked apples in a little container and store in the fridge to use for tomorrow's breakfast.
2. Add your skim milk to the saucepan together with the rolled oats on a medium heat and stir frequently until porridge cooks and thickens. Watch it carefully, oats don't take long to cook.
3. Add your cooked porridge to a bowl and tip your apples and blueberries on top. Done! Enjoy! :o)

Thursday, 5 July 2012

Face-Melting Apple and Cinnamon Scrolls


They will melt your face with their deliciousness!!! TRUST ME.  For this super tasty recipe you'll need to chuck the following ingredients into a bowl in no particular order:
  • 3 cups of flour
  • 1 egg
  • 1/2 cup of sugar
  • 1 and a half sachets of instant yeast (about 11g depending on how much you have per sachet. Mine were inconveniently 7g each)
  • a tablespoon and a half of butter
  • 3/4 cup of warm water 
Proceed to mush all the above ingredients together with your hands in the bowl until it's basically all stuck together, then transfer it to a lightly floured surface where you will need to knead it into submission aka until it's firm and no longer sticky. You may need to add a little more flour. Put the dough back into your bowl and cover tightly with cling wrap. Leave your dough-y lump to rise until it's twice it's original size (about an hour or so)


Whilst your dough is doing it's thing, roughly chop up 4-5 small peeled apples into little cubes. You won't need to cook them first for this recipe.

When your dough has doubled in size, transfer it back onto the floured surface and give it a quick re-knead before rolling it out. The pedantic people out there are going to hate me because I don't roll it to any particular size, I just roll it til it's about a 1/2 inch thick and relatively rectangular shaped (or you know, any shape) Then you'll want to be sprinkling a mixture of cinnamon and brown sugar onto the rolled out dough... It's a personal taste thing in regards to how much, the cinnamon gives it a lovely aroma and the brown sugar caramalises a little with the apples when being cooked.
It's like a giant sugar pizza!
Preheat your oven to 250 degrees. Tip your yummy apple bits onto the dough and spread them out. Then tightly roll up your dough and place your apple-dough log seam side down so it doesn't unroll when you cut it. Cut off slices about 1/2 thick. Don't worry if they unroll a bit or they don't stick, they'll cook just fine. Place your slices into a lined and lightly floured baking dish 1-2cm apart. They will rise together but they come apart easily at the end of cooking.
Brush a little milk on top of each scroll and bake for 10-15minutes or until the tops are lightly browned. If you are however unlucky and have an awful tempermental electric oven like me, bake them at a lower heat of 230 degrees for 15-20 minutes keeping a close eye on them. If you find the bottoms start to burn and the tops are still pale, take them out and test to see if one is cooked through. If so, you can cheat my placing the scrolls under a hot grill for a few minutes essentially cooking the rest of the way through and so you get a nice golden top. 

The only thing to do now (well the second aside from eating them!) is to ice these puppies! It's really simple, it's just a mix of icing sugar and water the same as you would when preparing icing for a cake. You can drizzle it over the top of each bun or you can go nuts and ice the whole thing! Totally up to you! I ice mine and sprinkle a little cinnamon on top too... I do LOVE my cinnamon!! These taste absolutely fab with saltanas thrown into the mix aswell, or some walnuts or berries! If you're really clever you could work some custard in there too somehow but I'm not sure how you'd go about that. I'm sure there is a way! Lookie... finished scrolls! YUMMMM

Thursday, 10 May 2012

Happy birthday to my darling husband!!

I thought I'd better pop in and make a quick post, it's been a few days and I was beginning to miss it! I have a busy day ahead of me, lots of cleaning and dinner prep for tonight. It happens to my husband's 26th birthday today so Im making homemade fettucine alla carbonara Lygon Street style! We both love this recipe, it's so delicious! It's from my 'Lygon Street' Cookbook by Michael Harden by far the best cookbook for dinner party meals I own (until I one day have my hands on Heston's 'The Very Fat Duck' Cookbook, at which point my life will be truly complete!!). It's full of traditional Melbourne Lygon Street recipes which are of course Italian and so divine! Tonights dinner is full of parmesan cheese, pasta, bacon and loads of cream so not for the health nuts! We have 3 people coming for tea so in my tiny kitchen I am going to be one crazy cook this afternoon. Before then though I unfortunately have the task of vacuuming all the dog fur off our couches...I bathed both the fur babies yesterday and brushed them to within an inch of their lives and they are STILL moulting. Doesn't make any sense considering it's winter...shouldn't they be keeping their fur?? Oh well...needs to be done anyway! Darn housework!

Our little Sparrow despite being clean and brushed, insists on sitting outside in the dirt right after his bath! Dogs will be dogs!
Last night I made my hubby a lemon cake, his favourite with a zesty lemon cream cheese frosting (YUMM) and now I just have to refrain from testing a piece until tonight :o)
And now I think I really need to get into the jobs that need doing today and stop procrastinating! But first I need to embarrass my husband so darling these are for you!


Happy Birthday sweetheart!

Wednesday, 2 May 2012

Caramel Crown Cupcakes ~ easy and delicious!

Guaranteed happiness in every bite! True story! I was originally going to try a Reese's Peanut Butter Cup cupcake recipe but the specialty lolly shop wasn't open at 10pm when I had the urge to bake so I bought a packet of Arnott's Caramel Crown biscuits instead. Not wanting to bake cake mix from scratch that late at night I just bought a pack of mud cake mix and premade frosting; it's cheating I know but I just wanted to eat them and couldn't be bothered... anyway so here's what you do...


Funnily enough a Caramel Crown is just the right size for the bottom of a muffin pan! Put one biscuit in the base of each muffin case.


Make your mud cake mix as per the instructions on the box and pour batter over the biscuit. Bake as per the instructions on the cake mix.


Add premade frosting


Eat them!!!

 How good does that look? YUMMO!! Ta Da! Caramel Crown Cupcakes!


**I was not paid or given any kind of compensation for suggesting the use of Arnott's Caramel Crown biscuits in this article. The choice to use that brand was entirely my own decision and any opinions are entirely my own

Tuesday, 13 March 2012

Easy Rainbow Layer Cake

You might notice my blog has changed a bit! I have spent all day working with my digital scrapbook bits and peices and putting together my new background and everything so here it is finally, I hope you like it! It still has some tweaking to go yet but I will hopefully have it all done during the week.

Now...to the recipe!

I'm certainly not going to claim this is my recipe because it's not, but for those of us who dont want a fandangled recipe where you need palette knives, egg whites at room temperature and mix masters then this is for you! It's basically a case of throwing everything together...the real effort comes from waiting for each layer to cook, then having the patience to let it cool and repeating the process over another 5 times :o) It's a FANTASTIC cake to make while you're doing other things though! If you're really lucky you'll have a larger oven and more than one cake tin! I made mine between doing loads of washing and tidying my craft room. And I have to say that all that work is most DEFINATELY worth it!! The finished cake stands just under 4 inches high, so it's not too big or too small and perfect for sharing!

The actual cake recipe comes from here at Best Recipes.com for Plain Cake and all I did was double the quantities of everything so I would have enough batter to make a 4 inch high layer cake.


Divide your batter as evenly as you can in 6 bowls and add your food colouring being sure to mix the colour in thoroughly. As for how much to use, it depends on how bright you want your cake, just work with a little at a time to get it right. Don't go too pale though as your colours will fade a bit in the oven. I went with yellow, orange, red, purple, blue and green for mine.

Then using a lightly greased 9 inch standard cake tin (I only have one so this, and I will be honest, a very slow process) add your first colour and bake at 180 degrees for 15 minutes (my oven is electric, you might need to adjust the cooking time for a gas oven). It's only a thin layer so you may need to spread out your batter with a spoon before baking.

Allow to cool, re grease your pan and pour in the next colour, bake for 15 minutes and repeat with the remaining colours. Once they're all cooked, you can stack the cakes up! I used a bit of icing sugar mixed in water to 'glue' the layers together but you can use the same frosting as the outside of the cake (getting to that bit!) in between if you prefer. Some recipes say to not stick them together and to just use skewers to hold the cake up then take them out when ready to serve but this cake won't stand very tall so unless you want to make a super cake you wont have to worry about that.


Also, other recipes may say that you need to cut the tops of each layer so that it sits perfectly flat but I didnt worry too much about that.

As for the frosting... I just used this recipe from Taste.com for Easy Butter Icing Recipe and doubled it so I'd have enough icing for the cake but found I had too much left over so I would probably only make a third more than the recipe says so you're not wasting it :o) And how un-Martha am I? I just used a kitchen knife to frost my cake AND I didnt even give it a crumb coat! The icing covered up the colours underneath just fine too in case you're wondering!  If you would like to crumb coat it though, frost it all over thinly and allow it set, then frost again over the top of that. This gives a thick coat to your cake, I personally don't like it but it's all up to you!

That's it! That's all it takes! It's pretty simple and looks AND tastes amazing... I thought about writing this post for the cake yesterday when I made it but figured there are plenty of recipes for this online and didnt want to feel like mine was a bit average but what the heck! Enjoy! This recipe is for two of my readers (oh gosh I never thought I'd say that!) so I hope it all makes sense guys! Any questions just ask, I don't bite :o)

Saturday, 17 December 2011

Itty Bitty Ginger Bread House Recipe

I have gone completely cookie mad today... I made a lovely batch of gingerbread peoples and 'royally' iced them! They are uber tasty, I LUUURVE cookies...major weakness! I'm making batches and batches of them as Chrissy gifts to friends, family and colleagues. We can't really afford to do the gift thing this year so I'm handmaking all my own sugar scrubs, cookies, meringue, gingerbread houses, lemon and pumpkin butter....the list (and a neverending list it is too!) goes on!

My husband took some gingerbread people to work to share with the ladies he works with in a library (hubby works in a school) and they sent him home with nothing but compliments and all begging for the recipe saying how light the texture was and how beautiful they tasted...well, as you imagine I was very happy with myself!! I'm new to baking so I was extremely pleased! I guess that's what nudged me to think I could give this a go.

anyhoo, I want to share this recipe...it's not only super yummy, but also super cute and very Christmas-y! I have always wanted to try these but never been brave enough; I'm actually typing this recipe out as I bake them so they could go wrong yet! But HEY! What can't be fixed/hidden with a bit of icing huh? If they're 'Tash-Proof' then I guarantee you can do them to. I'm a forgetful baker, like forgetting to put the cocoa into chocolate pudding, and yes I have managed that before.

 SO here goes...

Itty Bitty Gingerbread House

To start this yummo recipe, you'll need some gingerbread...so let's start there.

Making the Gingerbread
Ingredients:
125g butter, softened
1/3 cup brown sugar
1/3 cup brown sugar
1 egg lightly beaten
2 cups plain flour
1/3 cup self raising flour
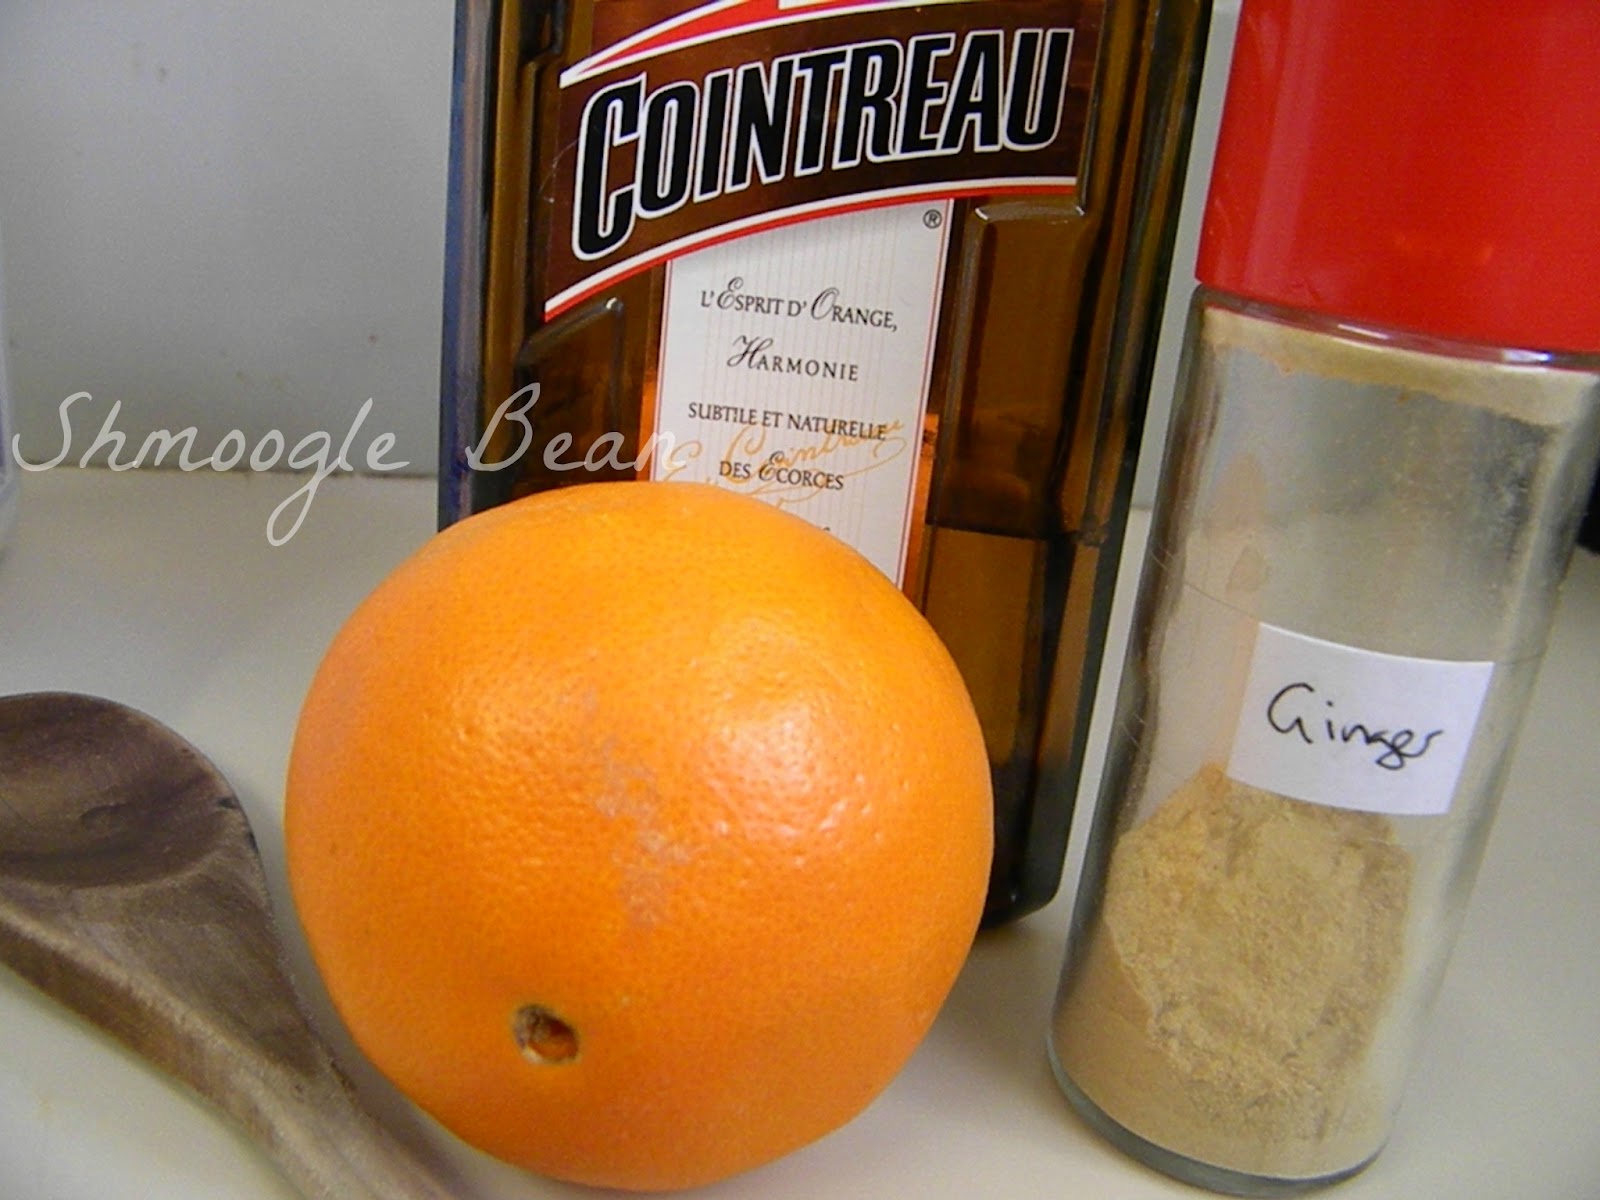
1 Tbs ground ginger (more or less depending on your tastes...I like mine sharp with that delicious ginger flavour so I add a little more than 1 Tbs)
1 Tsp of bi-carb soda

With this recipe, you should get about 3-4 itty bitty houses of the gingerbread dough
1. Preheat your oven to 180 degrees; beat butter, sugar and syrup until light and creamy (and try not to eat too much of it as you go!!!)

Add the lightly beaten egg gradually. Sift all your flour, ginger and bi-carb into the butter mixture and combine well with a wooden spoon. Once combined, knead it gently to form a smooth dough.
 
Roll out your dough onto a baking paper lined tray to a thickness of about 5mm. Refrigerate for about 1/2 hour...(this makes it a world easier to handle later, trust me!!)

2. Now to cutting out your house peices out of your gingerbread, you can measure these out onto cardboard before hand if you like or you can just measure them as you cut like I did:

Two front walls: 5cm x 5cm squares with a 3cm triangle on top
Two side walls 5cm x 8cm rectangles
Two roof pieces 5cm x 9cm rectangles
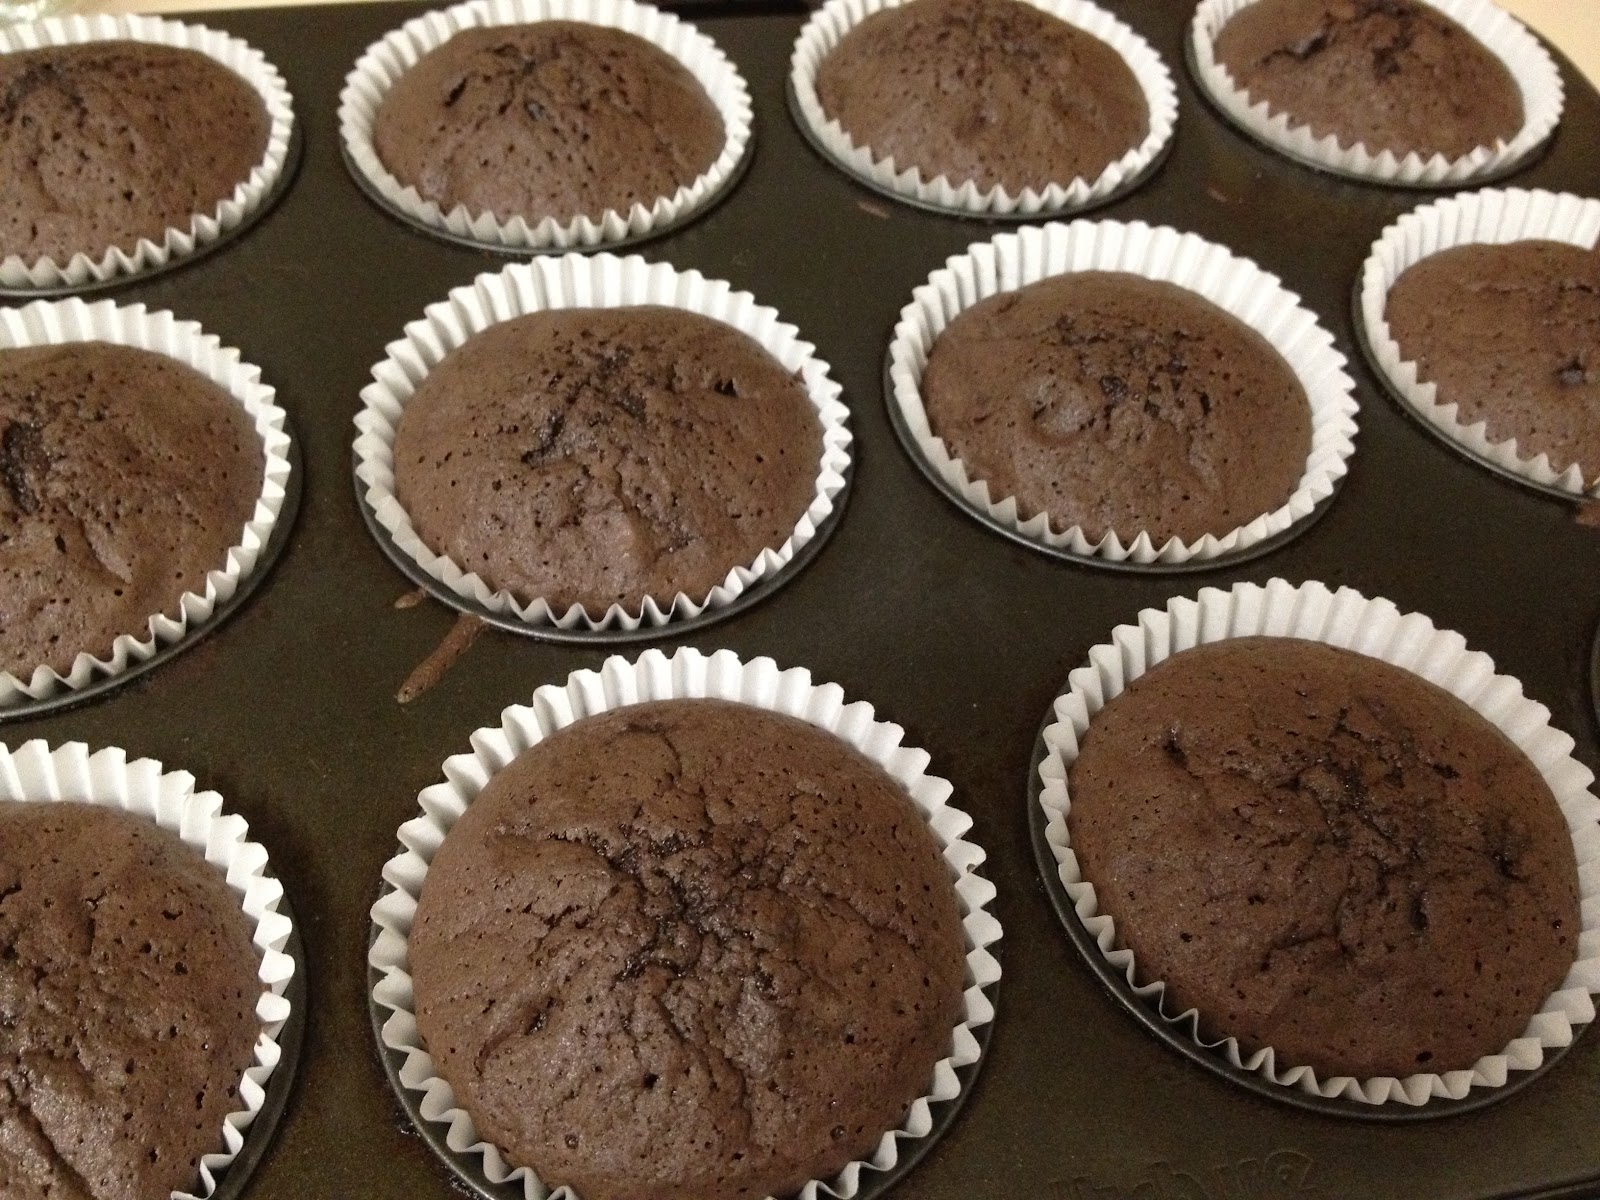
Bake for about 10 minutes. You can tell they're cooked when the base of the cookie has turned a darker brown. Using a spatula, gently place your cookies onto a wire rack to cool completely. 

I like to use that half hour the dough is in the fridge for to clean up my mess and prepare for the next step. I only have a very small kitchen with limited bench space and I need every inch of it so I suppose I don't get too much of a choice! :p

Ta da! you've got your cookies! Are they cooled yet?? Yes?  I just took mine out of the oven and they appear to have survived! Excellent!
While they're still warm, take a sharp knife and straighten to edges of your cookies..they'll stick together better that way.


 Now let's get to the fun (and messy) part!

Making the 'Cement' Icing and Constructing Your Itty Bitty House
This recipe should give you enough to glue your house together and use the rest to use to decorate with :)
2 egg white (at room temperature)
3 cups of icing sugar
1. Beat your egg whites until they form soft peaks then gradually add your icing sugar bit by bit until you get a gorgeous shiny and stiff icing. Just a tip here...what you don't use for sticking the house together, cover the bowl with a damp towl to keep the icing from hardening before you use it for decorating.

Or you can get your husband to beat the eggs and sugar! You didn't think that was MY arm did you? Be warned..don't wear black!! The icing sugar gets everywhere!

There are two ways you can stick your house together...first way is to use a piping bag ( a number 96 piping nozzle works well) or you can simply (but carefully) dip the edges you want to stick into the icing and do it that way. Or you could use a spoon too... do whatever is necessary to form your beautiful little yummy house together!
2. Join together the walls and leave it on a aluminium foil sheet to harden.

I've just piped the cement on here and I'm hoping it hardens!! Not too sturdy at the moment..but I always have trouble getting royal icing to the right consistancy..I think it's just me!
. When the walls are set enough (you'll know if it's not, as it will fall apart on you!) after about half an hour to be on the safe side, pipe or spoon icing on to join your roof pieces. Leave your house for 20-30 minutes for the cement to harden up before you start decorating.

THE FUN PART (a.k.a The Decorating Bit)
Did you see my Christmas Mallow Poles there?? I've also got M and M's and some Naturals Jelly Fruits as well as a whole range of food colouring at my disposal!! You're free to decorate yours however you like, but in case you're curious, I've taken some progressive photos of how I've decorated mine :)


With plain white icing I have piped on roofing shingles

On the front I have added some cut-up pieces of marshmallow pole I bought at the supermarket

To add some fun colour I have 'glued' on M and M's to the roof shingles...looking very very tasty at this stage!!!

I made some mini gingerbread christmas trees to use as front doors :) I started making some gingerbread windows but found I'd forgotton my liqourice strips to make the window frames with! Whoops! (the windows look a little like grilled cheese on toast!)


Next I went a little icing-mad and added 'snow' to the eaves and over the top of the roofs...then digging in my pantry I found some silver candy balls and sprinkled those on top. The house is resting on a small plate covered in foil, which I then dampened and sifted icing sugar onto. Around the bottom of the edge of my houses I stuck yummy little jelly fruits! yum yum yum!!

It definately needed a chimney...I found a fun-sized cherry ripe in my chocolate stash (you have to keep an emergency stash at home at all times...you know, just in case!). I cut it in half and cut a diagonal on the bottom edge, added some icing and stuck it on top....perfect!!!
And there you have it! I hope you have as much fun making these as I did! I hope the people I made these for enjoy eating them just as much too!


If you have any questions, feel free to ask!! :)

-Tash Xx